Steps in Kintsugi - A community gold joinery workshop in Tokyo
This post is entirely preserved from my old blog to preserve the careful teachings of my venerable Kintsugi teacher in Tokyo. She held weekly community workshops where people could bring in their items and work on their projects.
One of my client offices has four cats who roam around wherever they please. Inevitably, things break. One weekend morning, I walked in to discover a colleague’s new cup smashed on the ground. After cleaning up the shards, I left the pieces on her desk. I didn’t have the heart to throw them away.
In my mind, it could be fixed. The missing fragments could be filled with lacquer, lined with gold dust, and polished to become an even more unique cup. It could be a kintsugi piece.
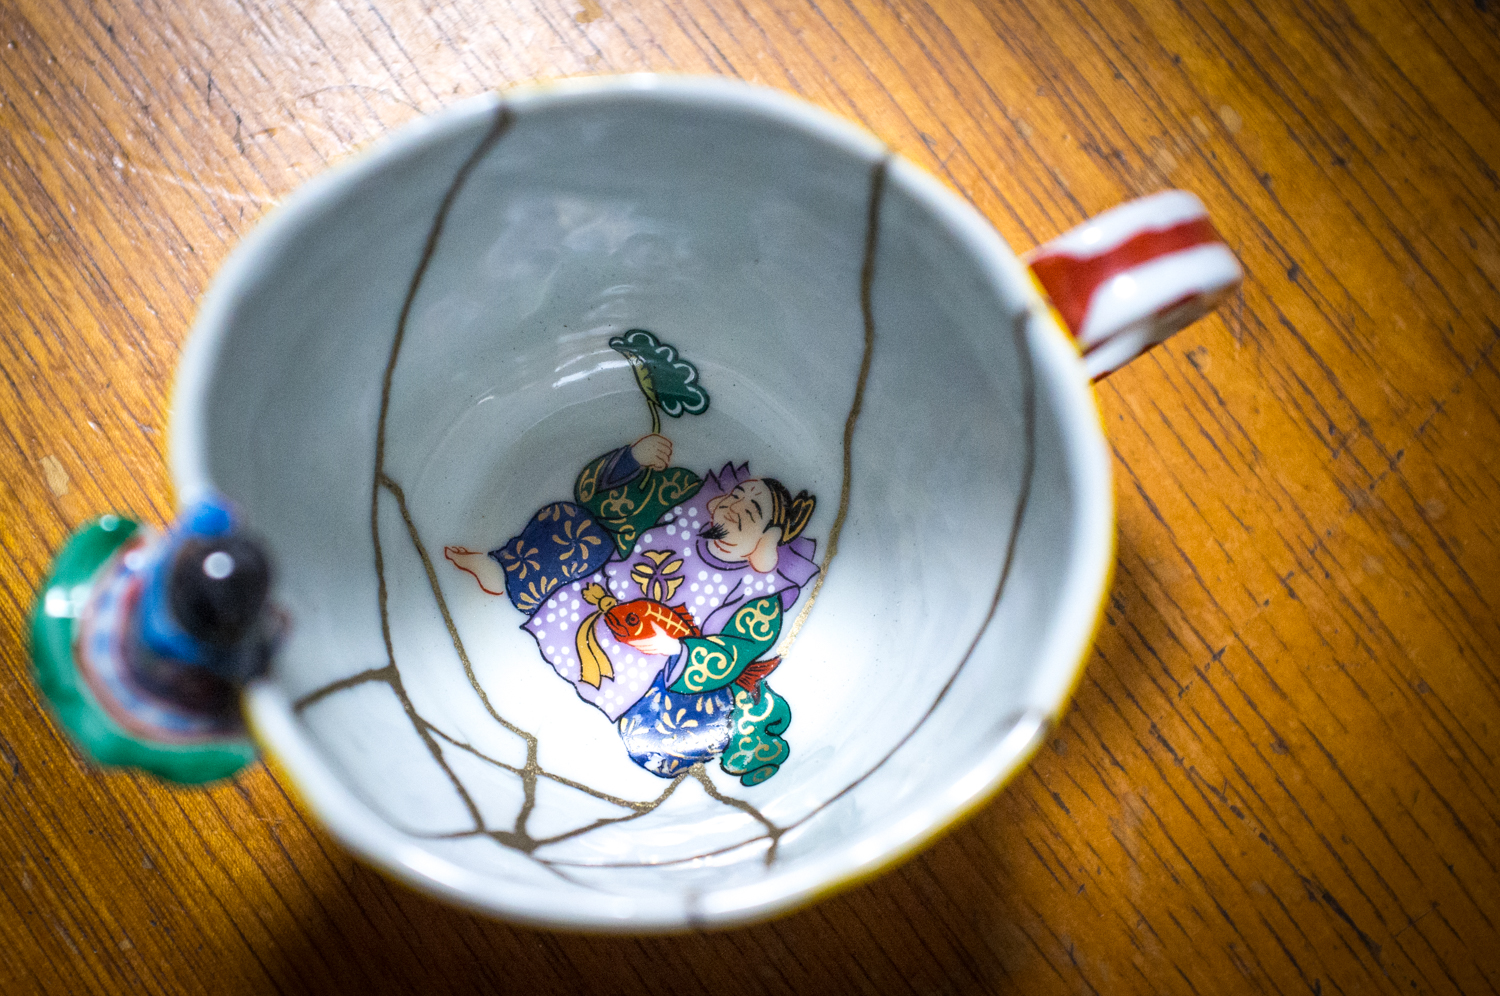 A completed kintsugi piece by Sensei — Photo by Athena Lam
Kintsugi is the traditional craft of mending broken fragments and one-upping the original by lining it with gold. The historical practice originated in Kyoto and has Buddhist roots — nothing is just broken, just born anew. I first discovered when a friend (who lived in Hong Kong) asked me whether I knew places that did it in Tokyo (when I still lived there). I didn’t, but because she asked, I ended up asking a local friend of a friend who was also interested in traditional crafts. She, in turn, found another architect friend who designed the restoration of an old Tokyo house into a small community workshop. It is in that community workshop that I ended up spending half a year, mending things with locals under the tutelage of a warm, elderly sensei.
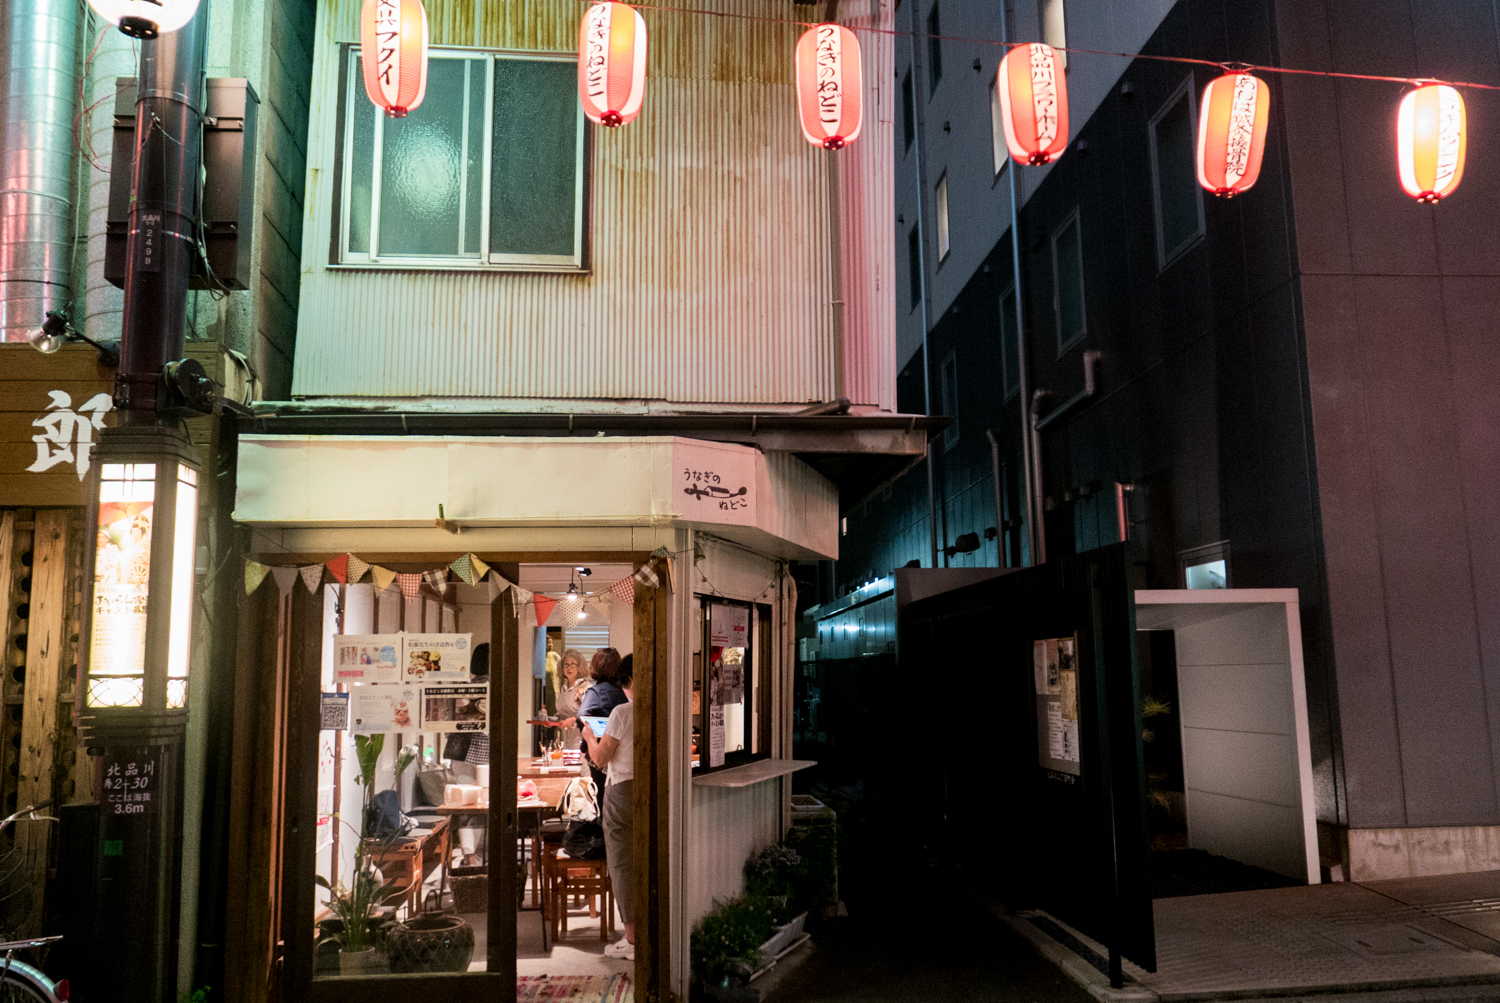 Unaginonedoko is a community space in Shinagawa, Tokyo — Photo by Athena Lam
The community centre called Unaginonedoko runs weekly workshops for this traditional craft, which only has a handful of masters left in Kyoto. If you are living in Tokyo, speak basic Japanese, and interested in working on some pieces long-term (think months), then you can check out this Facebook page.
Please note that there are no short-term workshops at this community centre as it is a regular, quiet session of regulars. If you are looking for a 1-day workshop, please look for other experiences, such as on AirBnB._
Below are some of the things I learned over the course of several months.
0. Give yourself plenty of time
 Entire missing fragments can be replaced in kintsugi if you have time — Photo by Athena Lam
My local friend and I didn’t know what to expect when we first arrived in the narrow house that just fits a long table. The instructor was a bit late and the glass sliding door was locked. Had we gone to the wrong place?
Eventually, she arrived on her bike with a basket full of all the materials we would need: lacquer, gold dust, all the tools, and even some pieces students had left with her. Sensei is a venerable lady with frizzy hair the colour of speckled snow. As the other disciples sat down to work, we waited for her to sort herself out and attend to each person’s question in turn. This would be a common theme in kintsugi: Waiting. There is nothing to rush in kintsugi. Every stage completed takes a day to set.
 Mixing small amounts of our own materials every time — Photo by Athena Lam
Materials Used
- Chisels (or modern equivalent)
- Scrapers
- Exacto knife (or a similar type of blade)
- Sander
- Lacquer (urushi)
- Other types of sap
- Powder
- Gold dust
- Various brushes, for dusting and also for “painting”
- Cue tips
- Oil, for cleaning
- Benzine, (rigroin リグロイン), for cleaning
1. Kintsugi begins with the broken
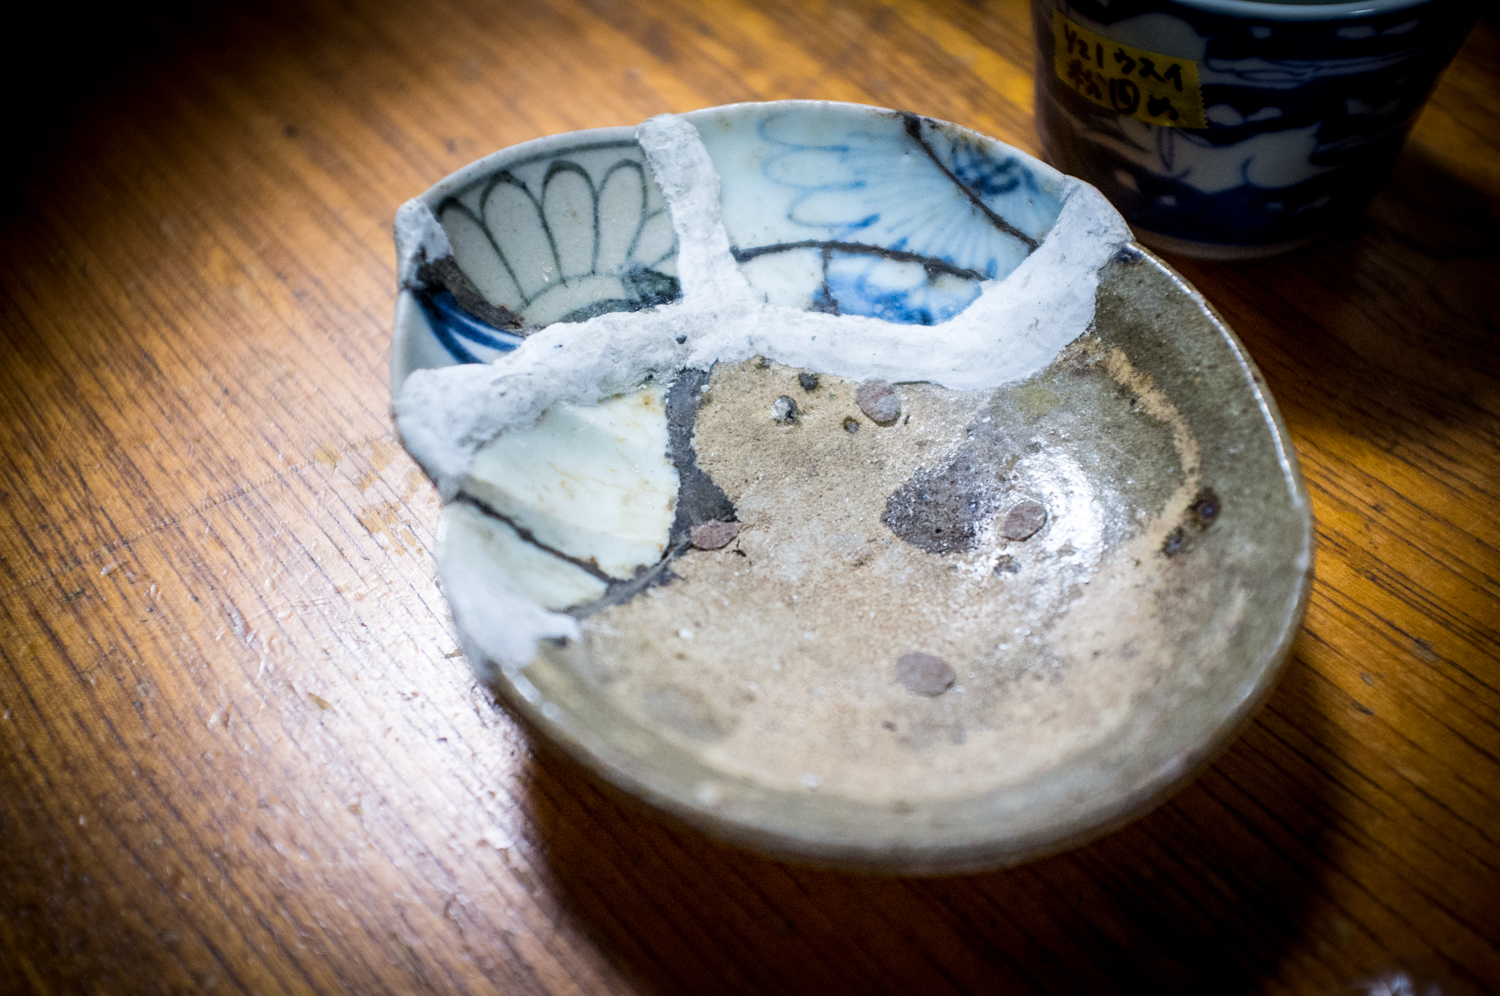
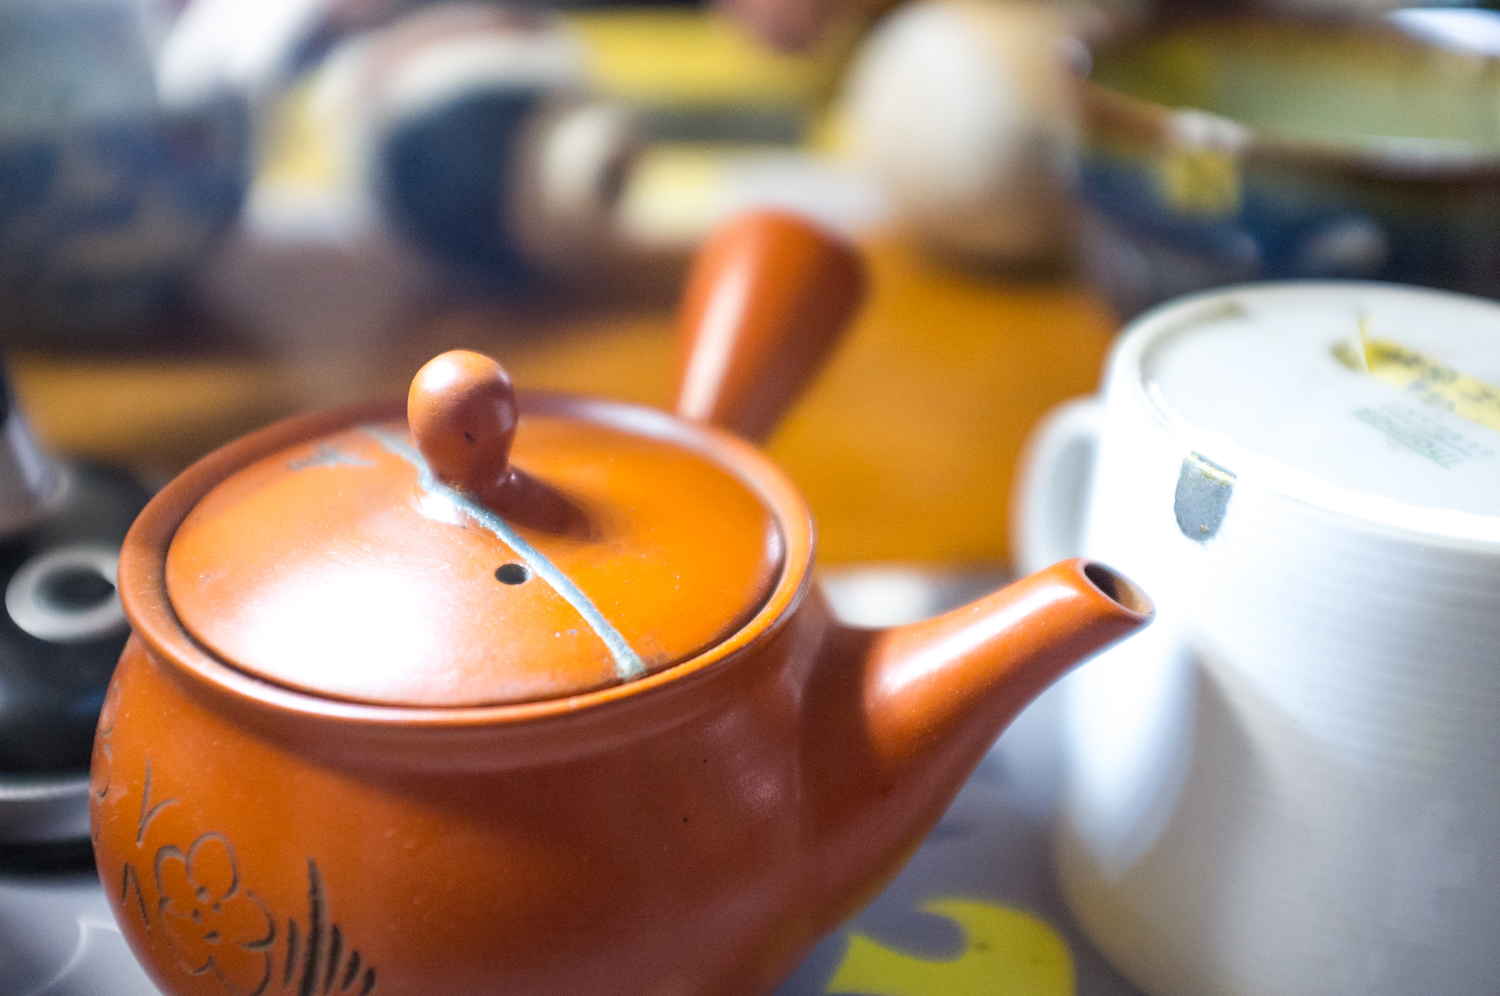
 My borrowed broken tea pot — Photo by Athena Lam
To make a kintsugi piece, you have to first break something. The community workshop I joined was just that — a guided session where everyone worked on whatever pieces they wanted. For most of the attendees, this workshop was a routine. By the time they finished one piece, they have found another piece to fix.
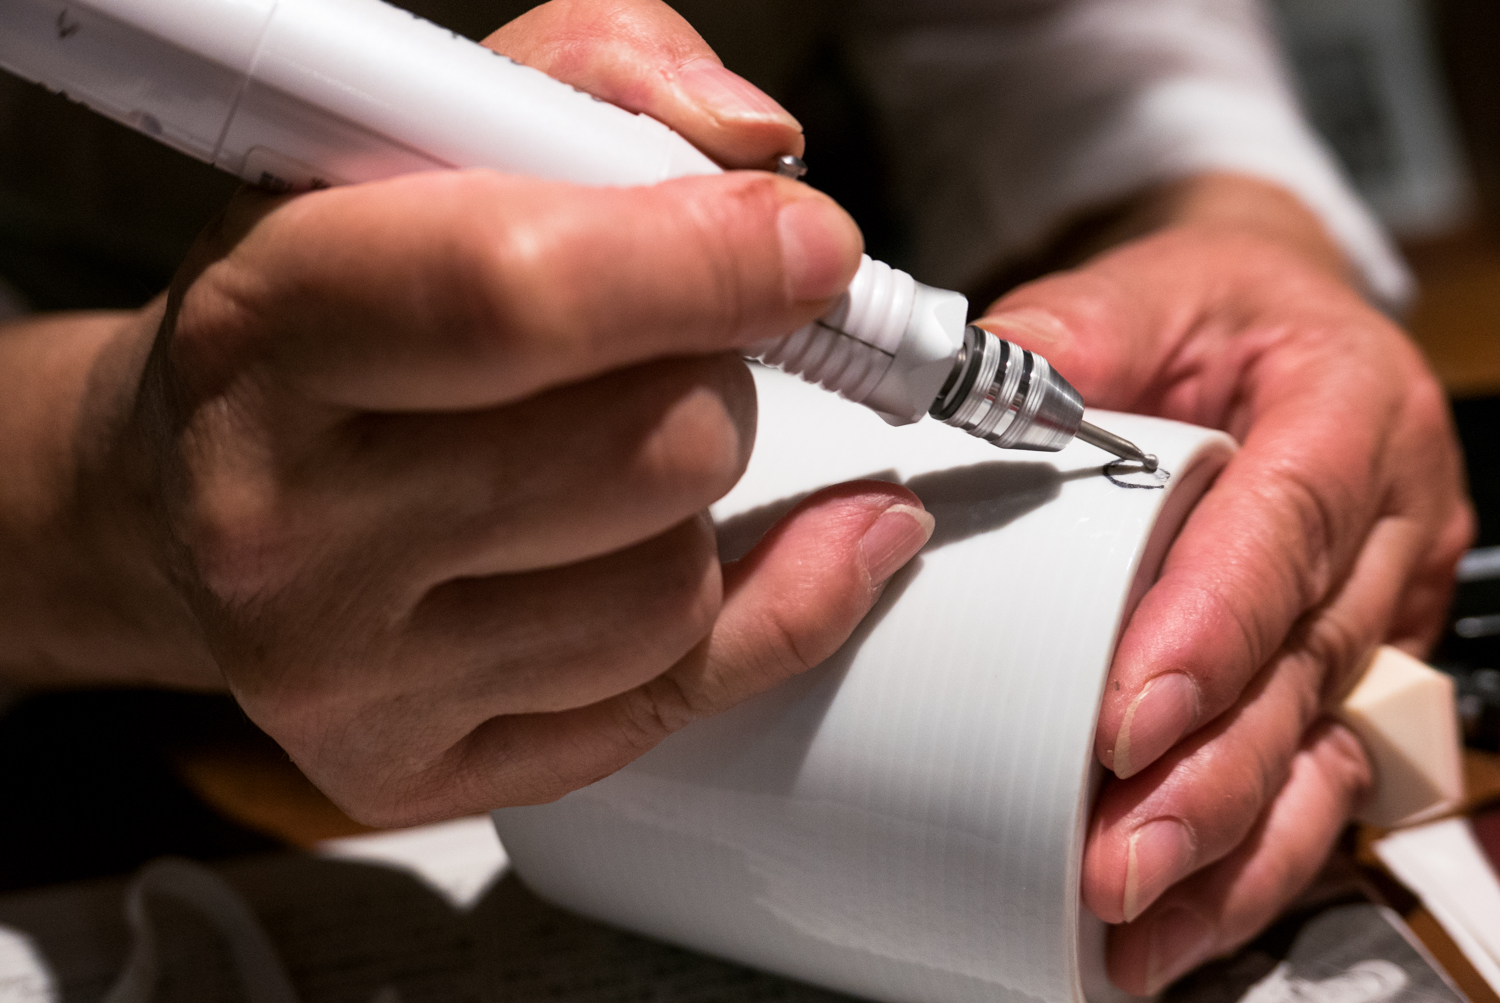
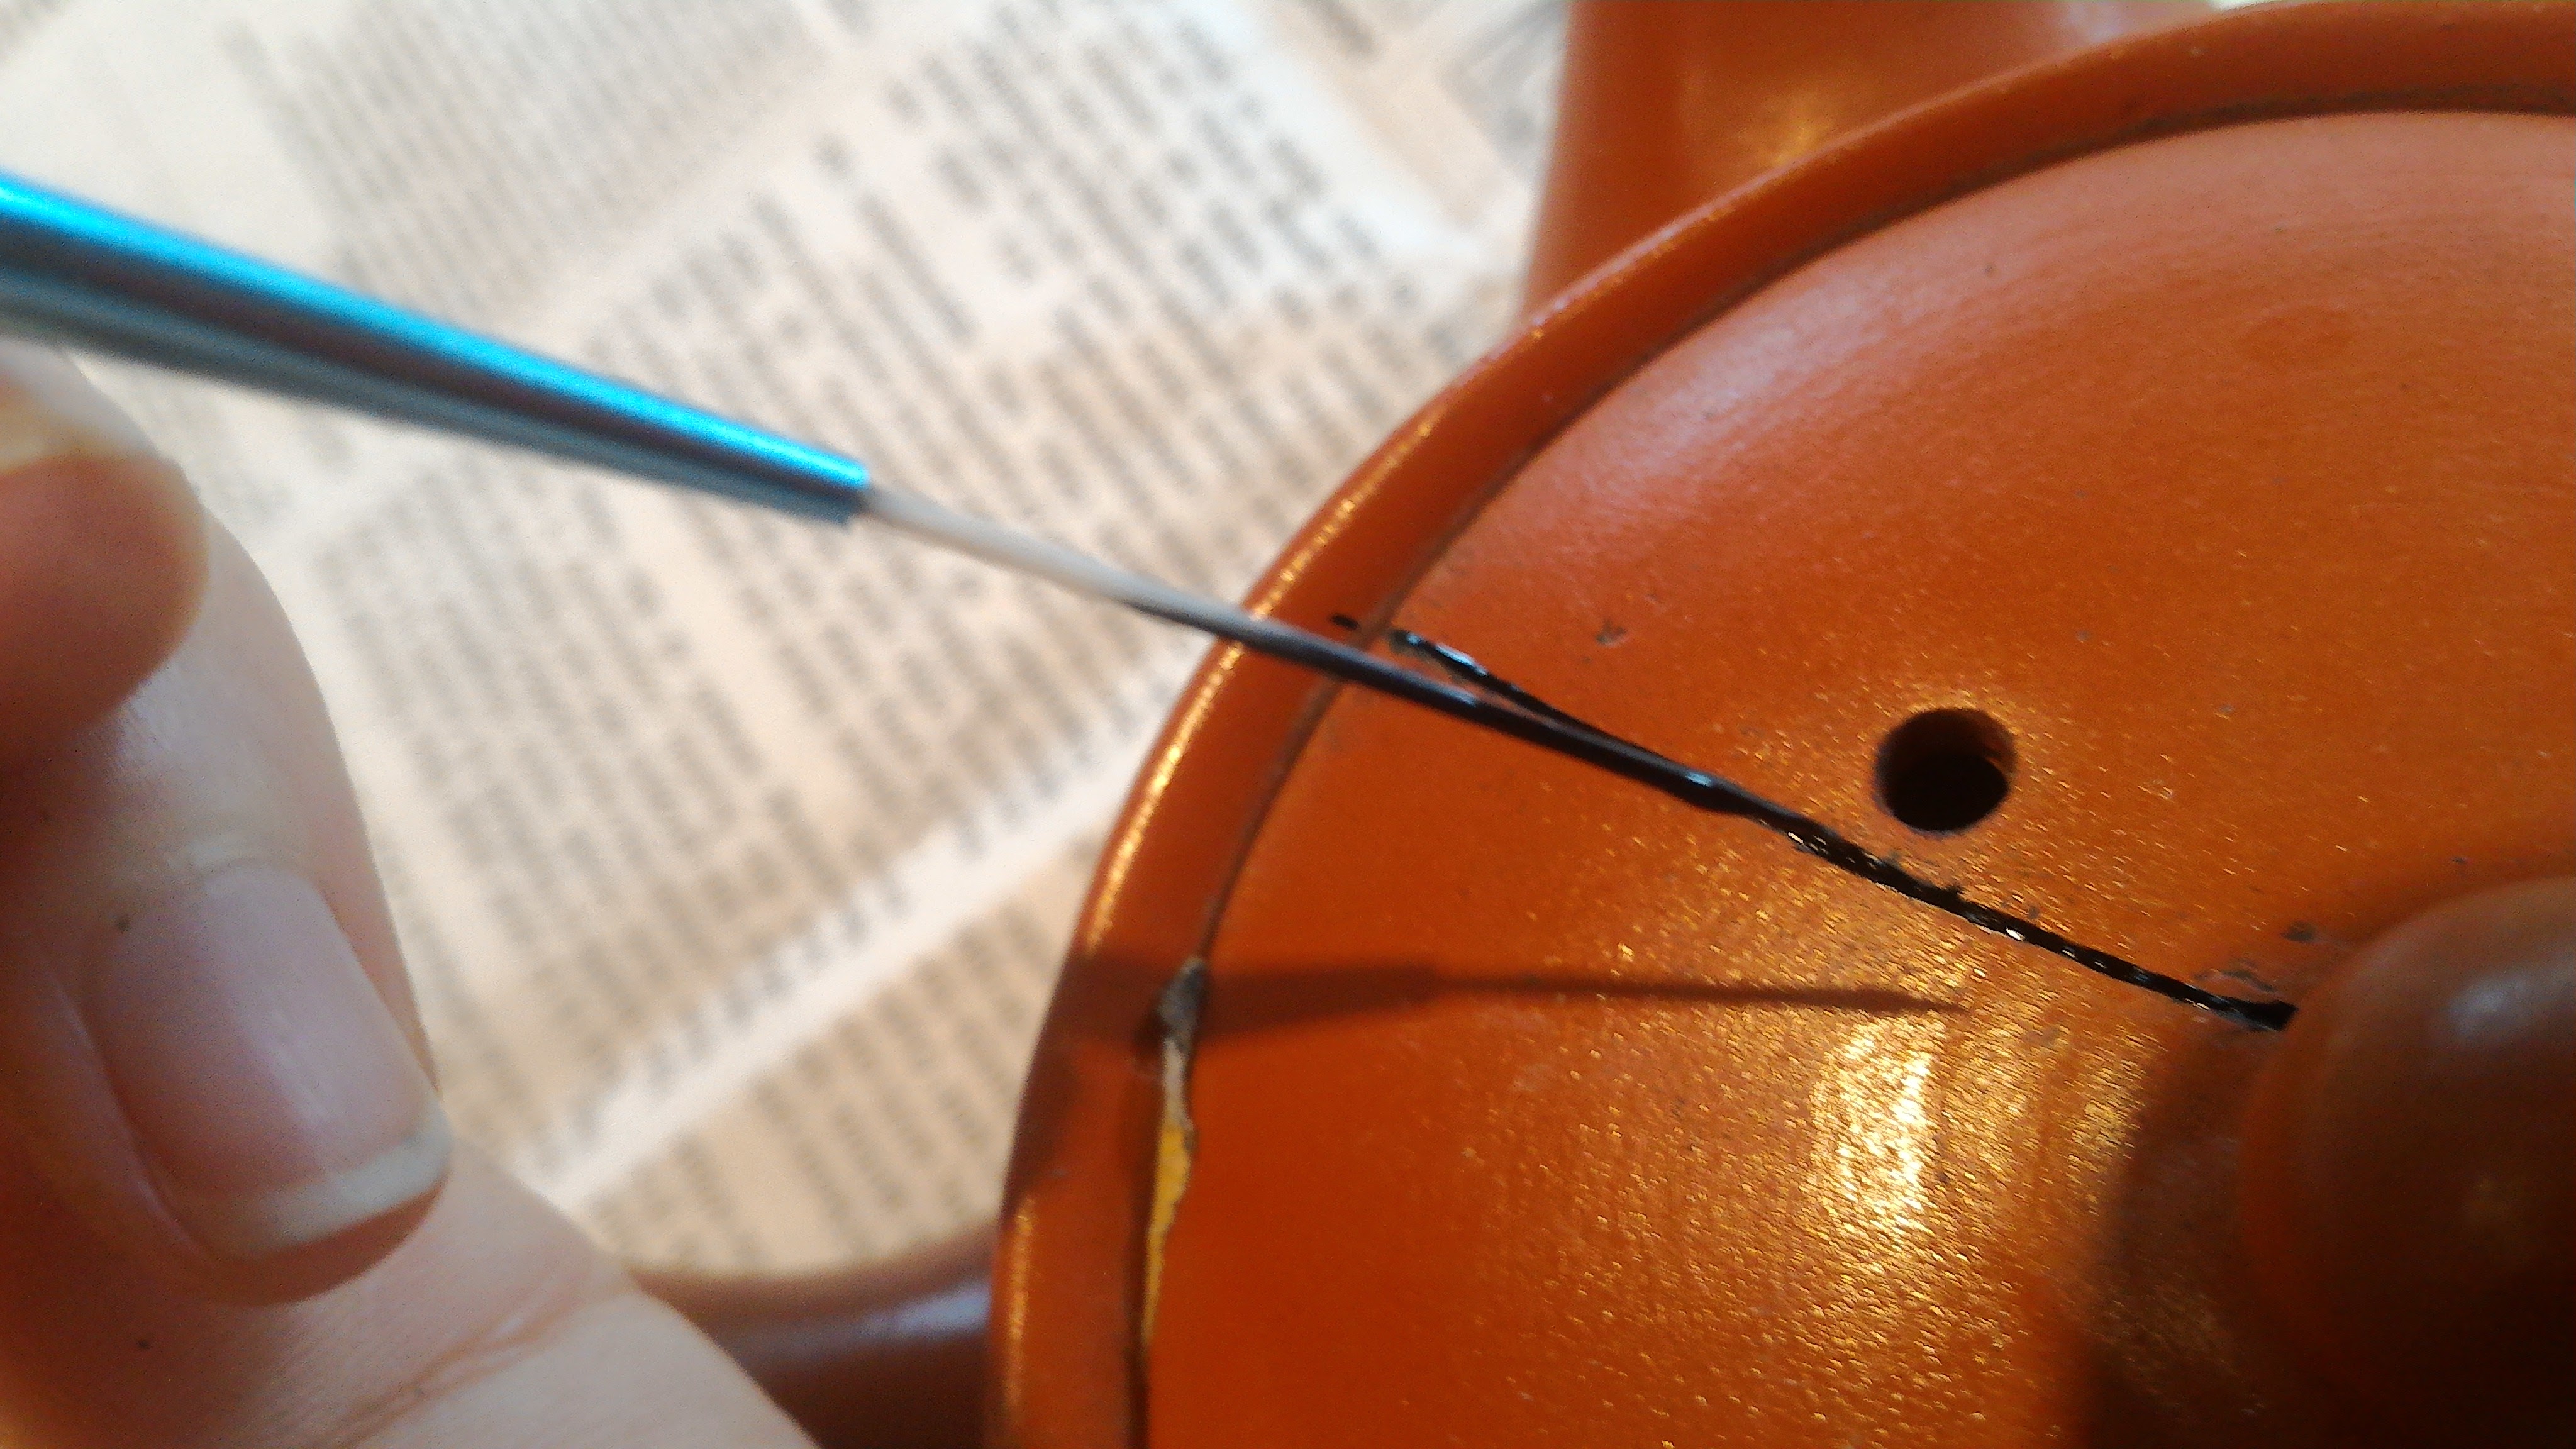
2. Make the defect bigger
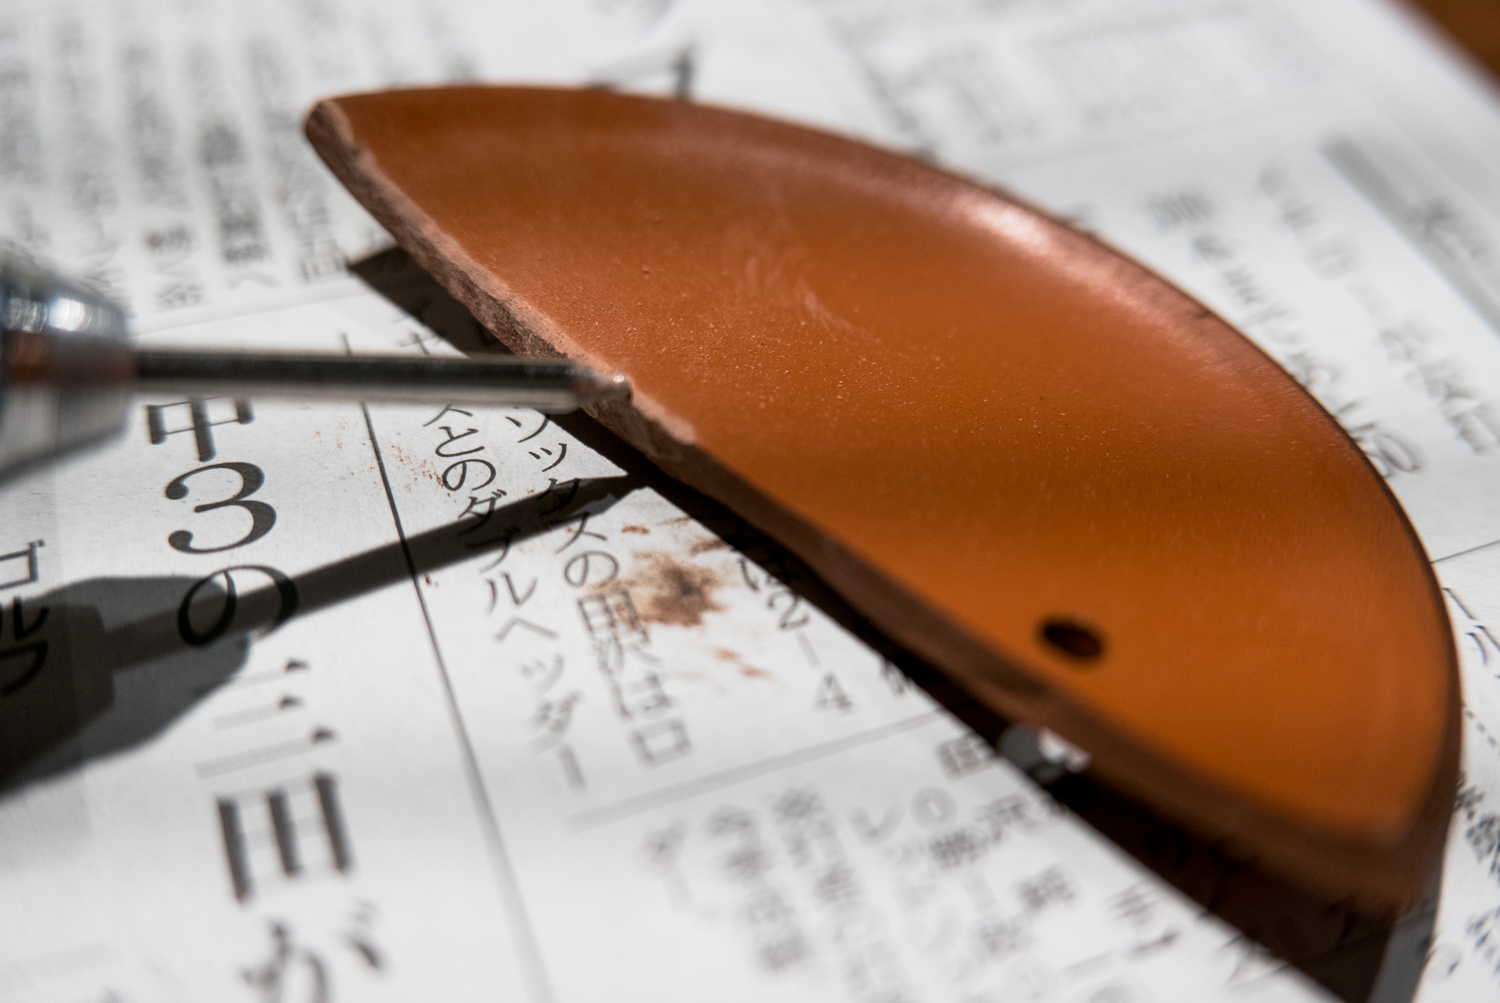 Drilling the edges to create a line and the middle for the glue to go in — Photo by Athena Lam
Clean breaks aren’t great for kintsugi. If you just glue it back together, the line is too thin to line with gold. Therefore, we need to deepen the chips, widen the cracks, and create uneven surfaces so that the lacquer can seep in and properly glue the pieces back together.
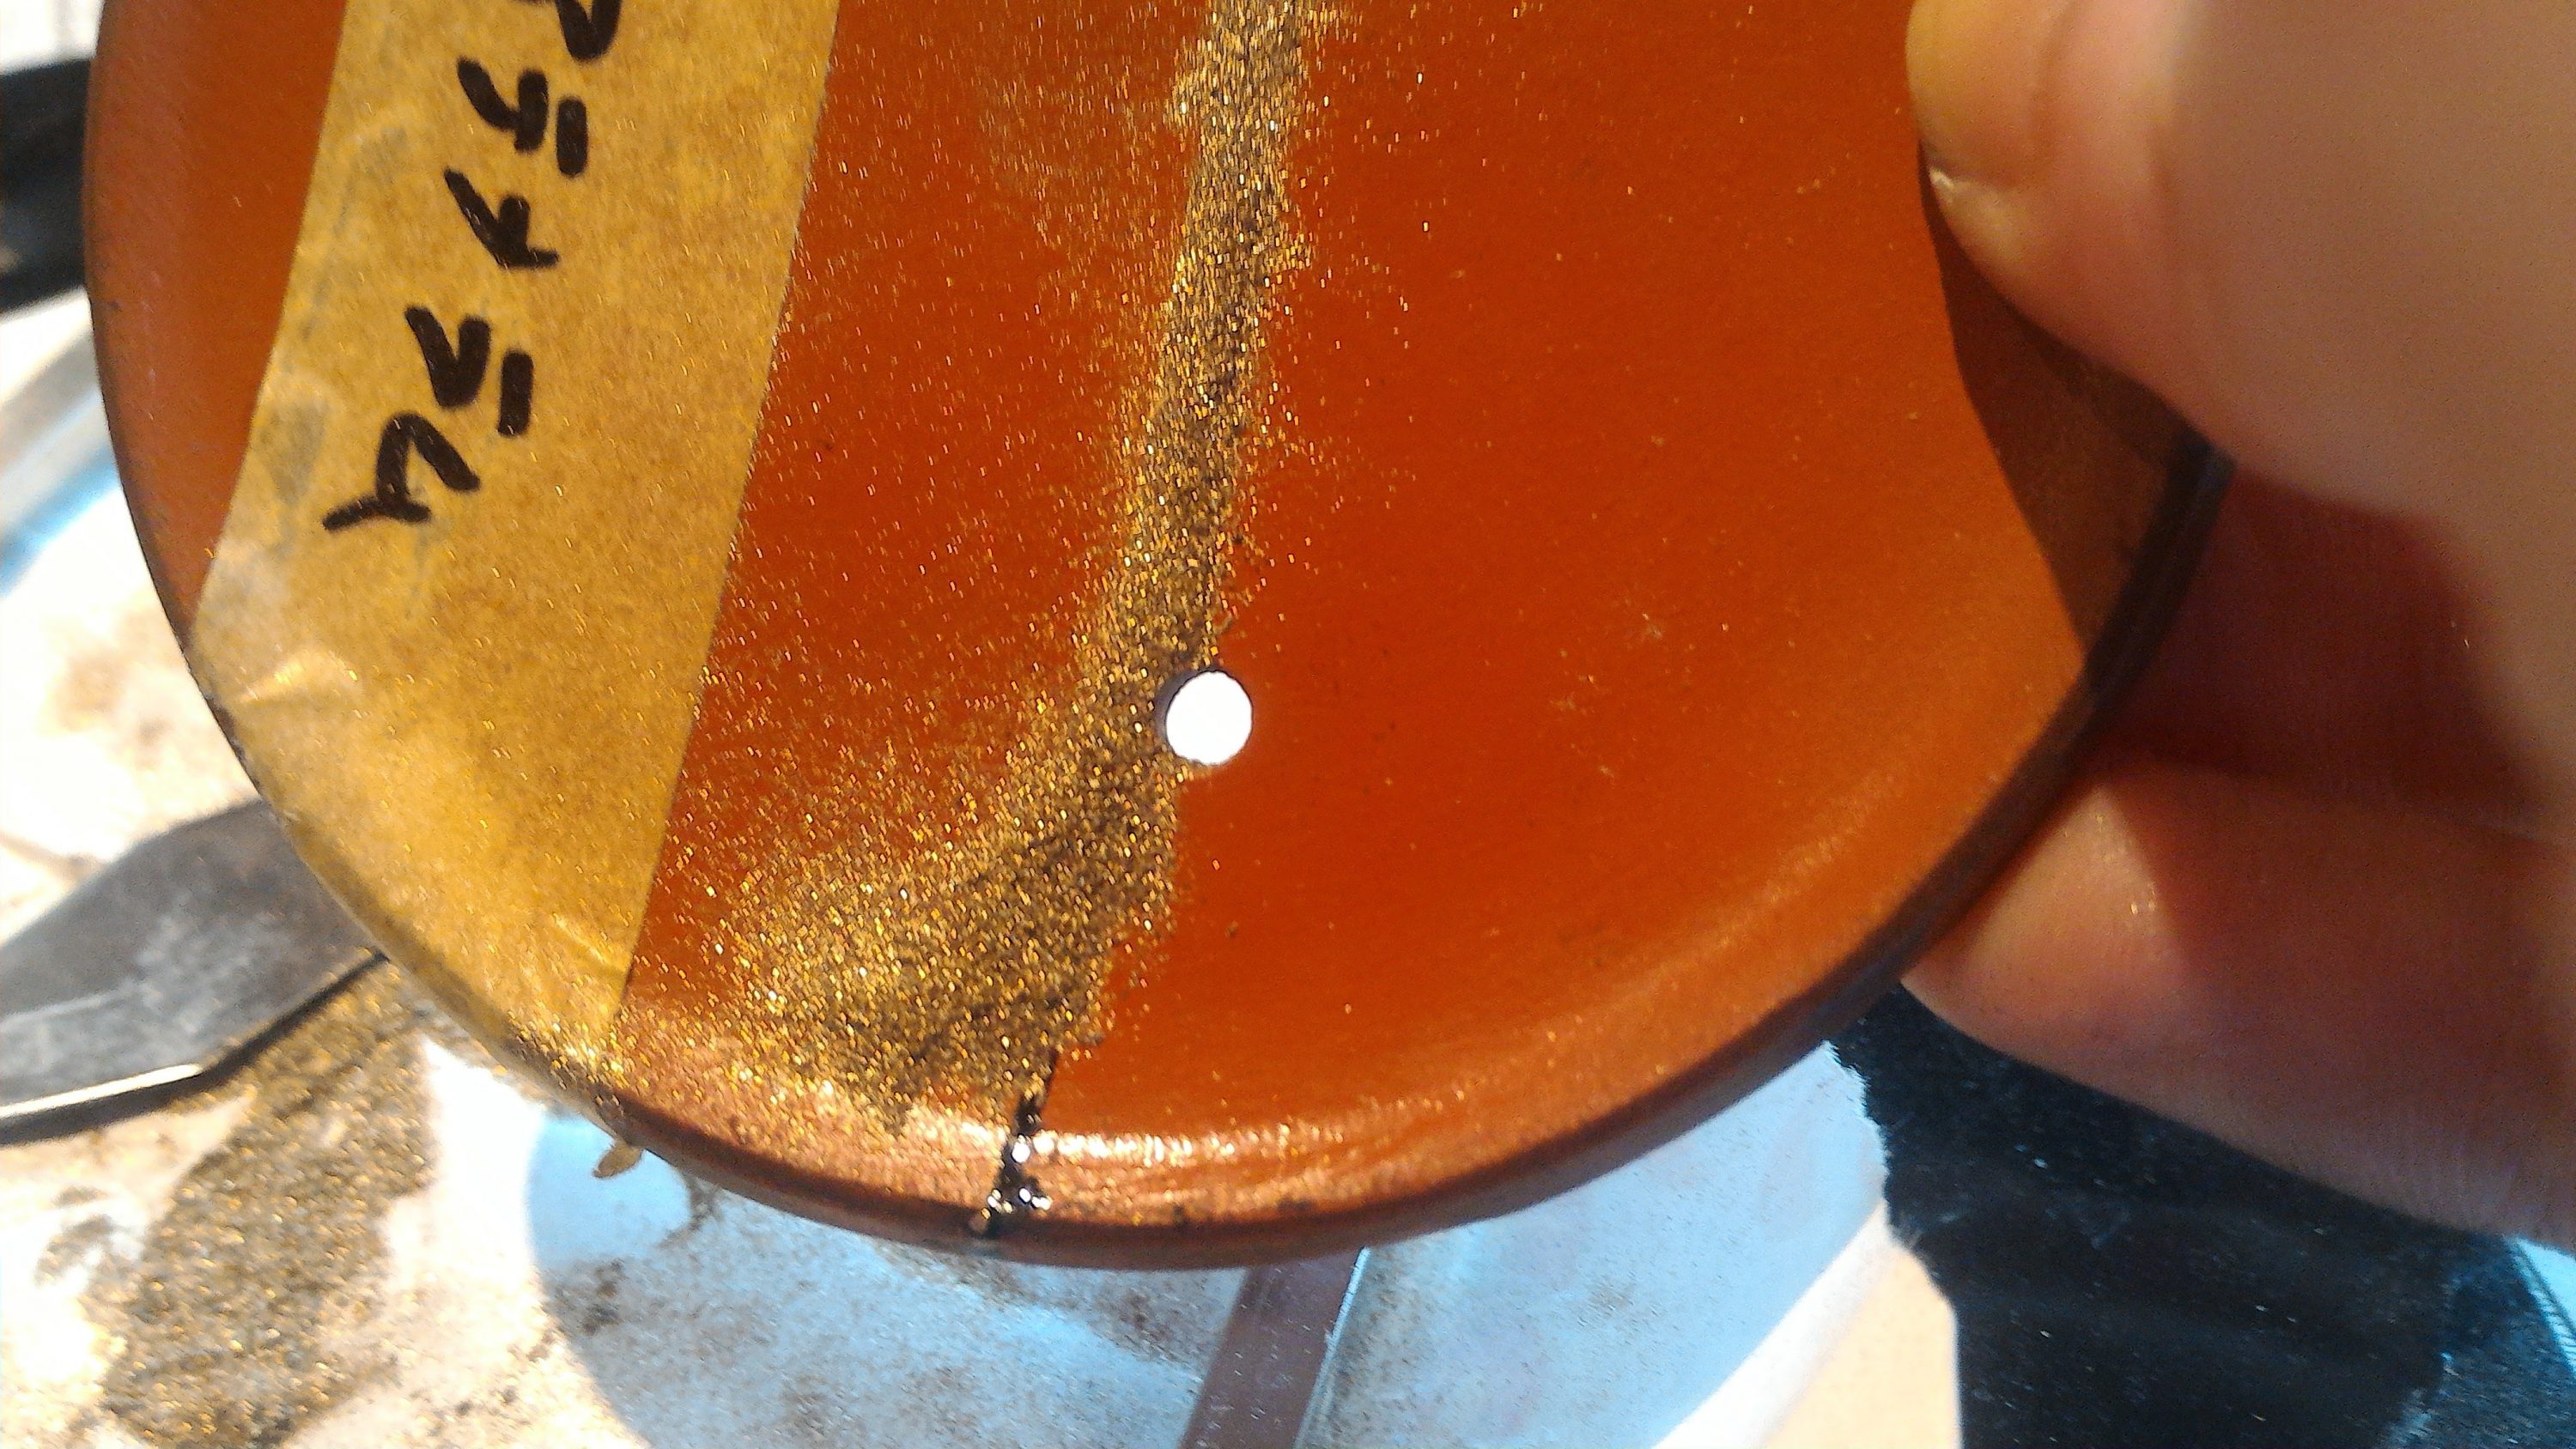
 Widining the chip to create enough space for the lacquer — Photo by Athena Lam
My white porcelain cup had a very shallow chip that no-one notices, so I marked the spot to drill into with a felt marker. Widening the chip was much more difficult than creating an uneven surface to mend. On smooth surfaces, it’s easy for your hand to fly off in the wrong direction so that the hole gets bigger and bigger as you try to smooth the outline. My white cup would prove to be a much bigger challenge than the tea pot throughout the entire process.
3. Filling with lacquer
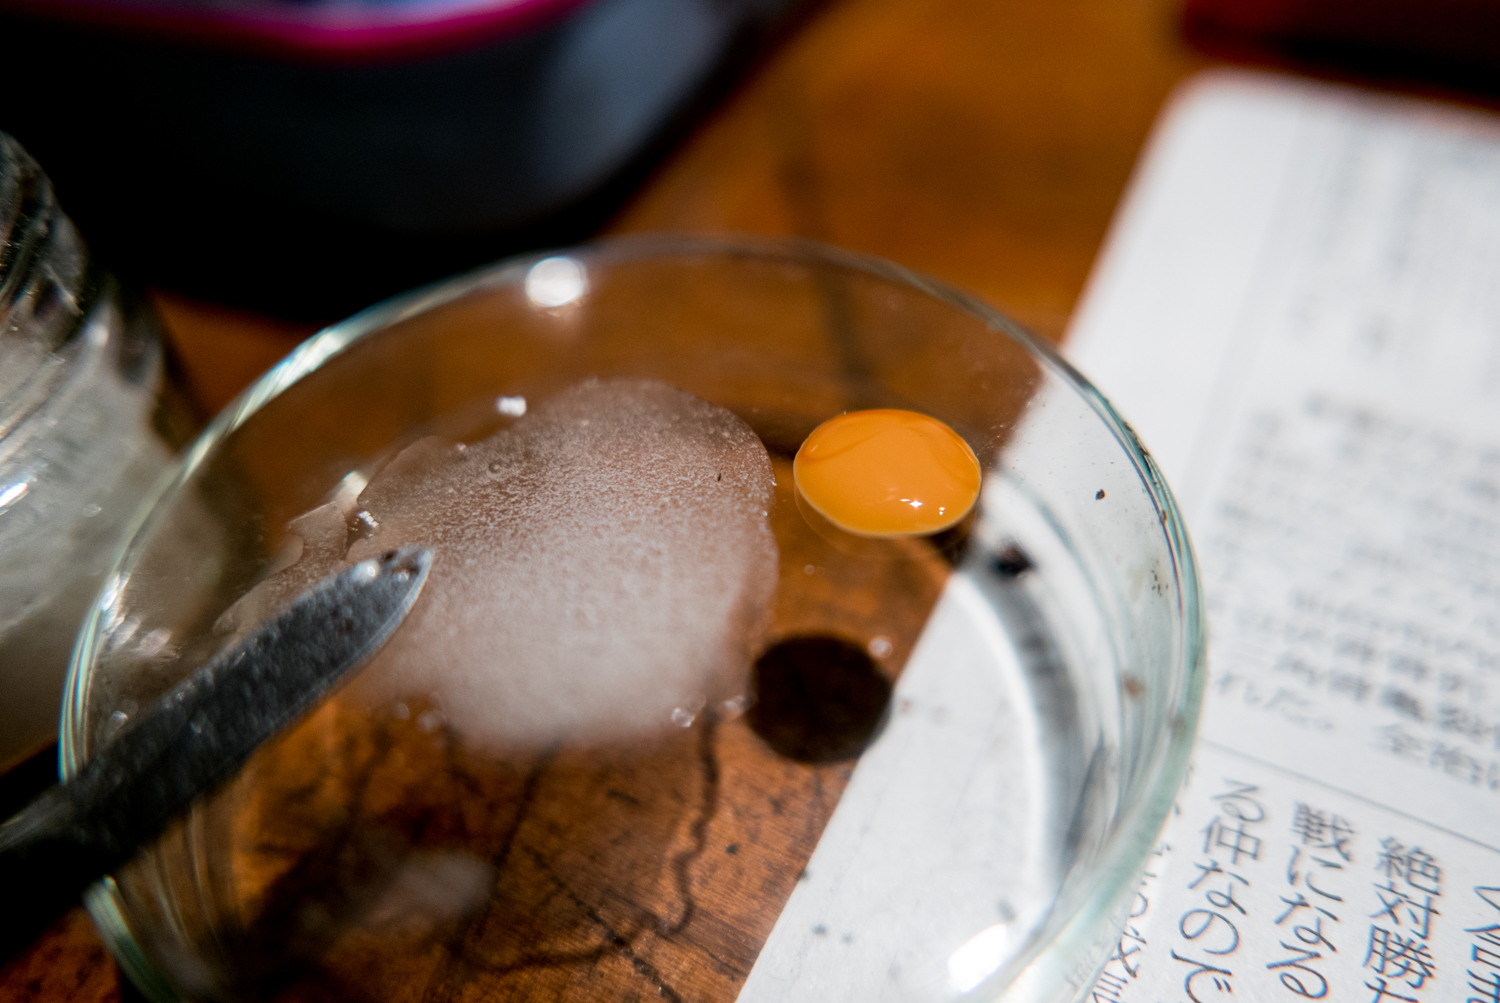
 Natural glue — Photo by Athena Lam
Different mixtures of lacquer are used for the purposes of filling and mending. At my workshop, the redish type includes tree wax that forms a natural glue. Laquer and ground charcoal can be used to for filling, like my cup. In extreme cases, the lacquer can be used to entirely recreate missing parts. However, the layers need to be dried in turn before another thin layer is applied. Filling gaps can take months.
 Patching with ash and lacquer — Photo by Athena Lam
The amounts mixed are small so as not to waste materials. Hence, we usually use a petrie dish and work with single drops of water to mix until we get the right consistency. Too watery, and nothing will stick. Too thick, and we can’t apply a properly maleable surface.
4. Making pieces whole again
 Cleaning off the excess glue — Photo by Athena Lam
What is applied needs to be polished and sanded down eventaully. Glue needs to be removed while it is still liquid so that later sanding isn’t as difficult.
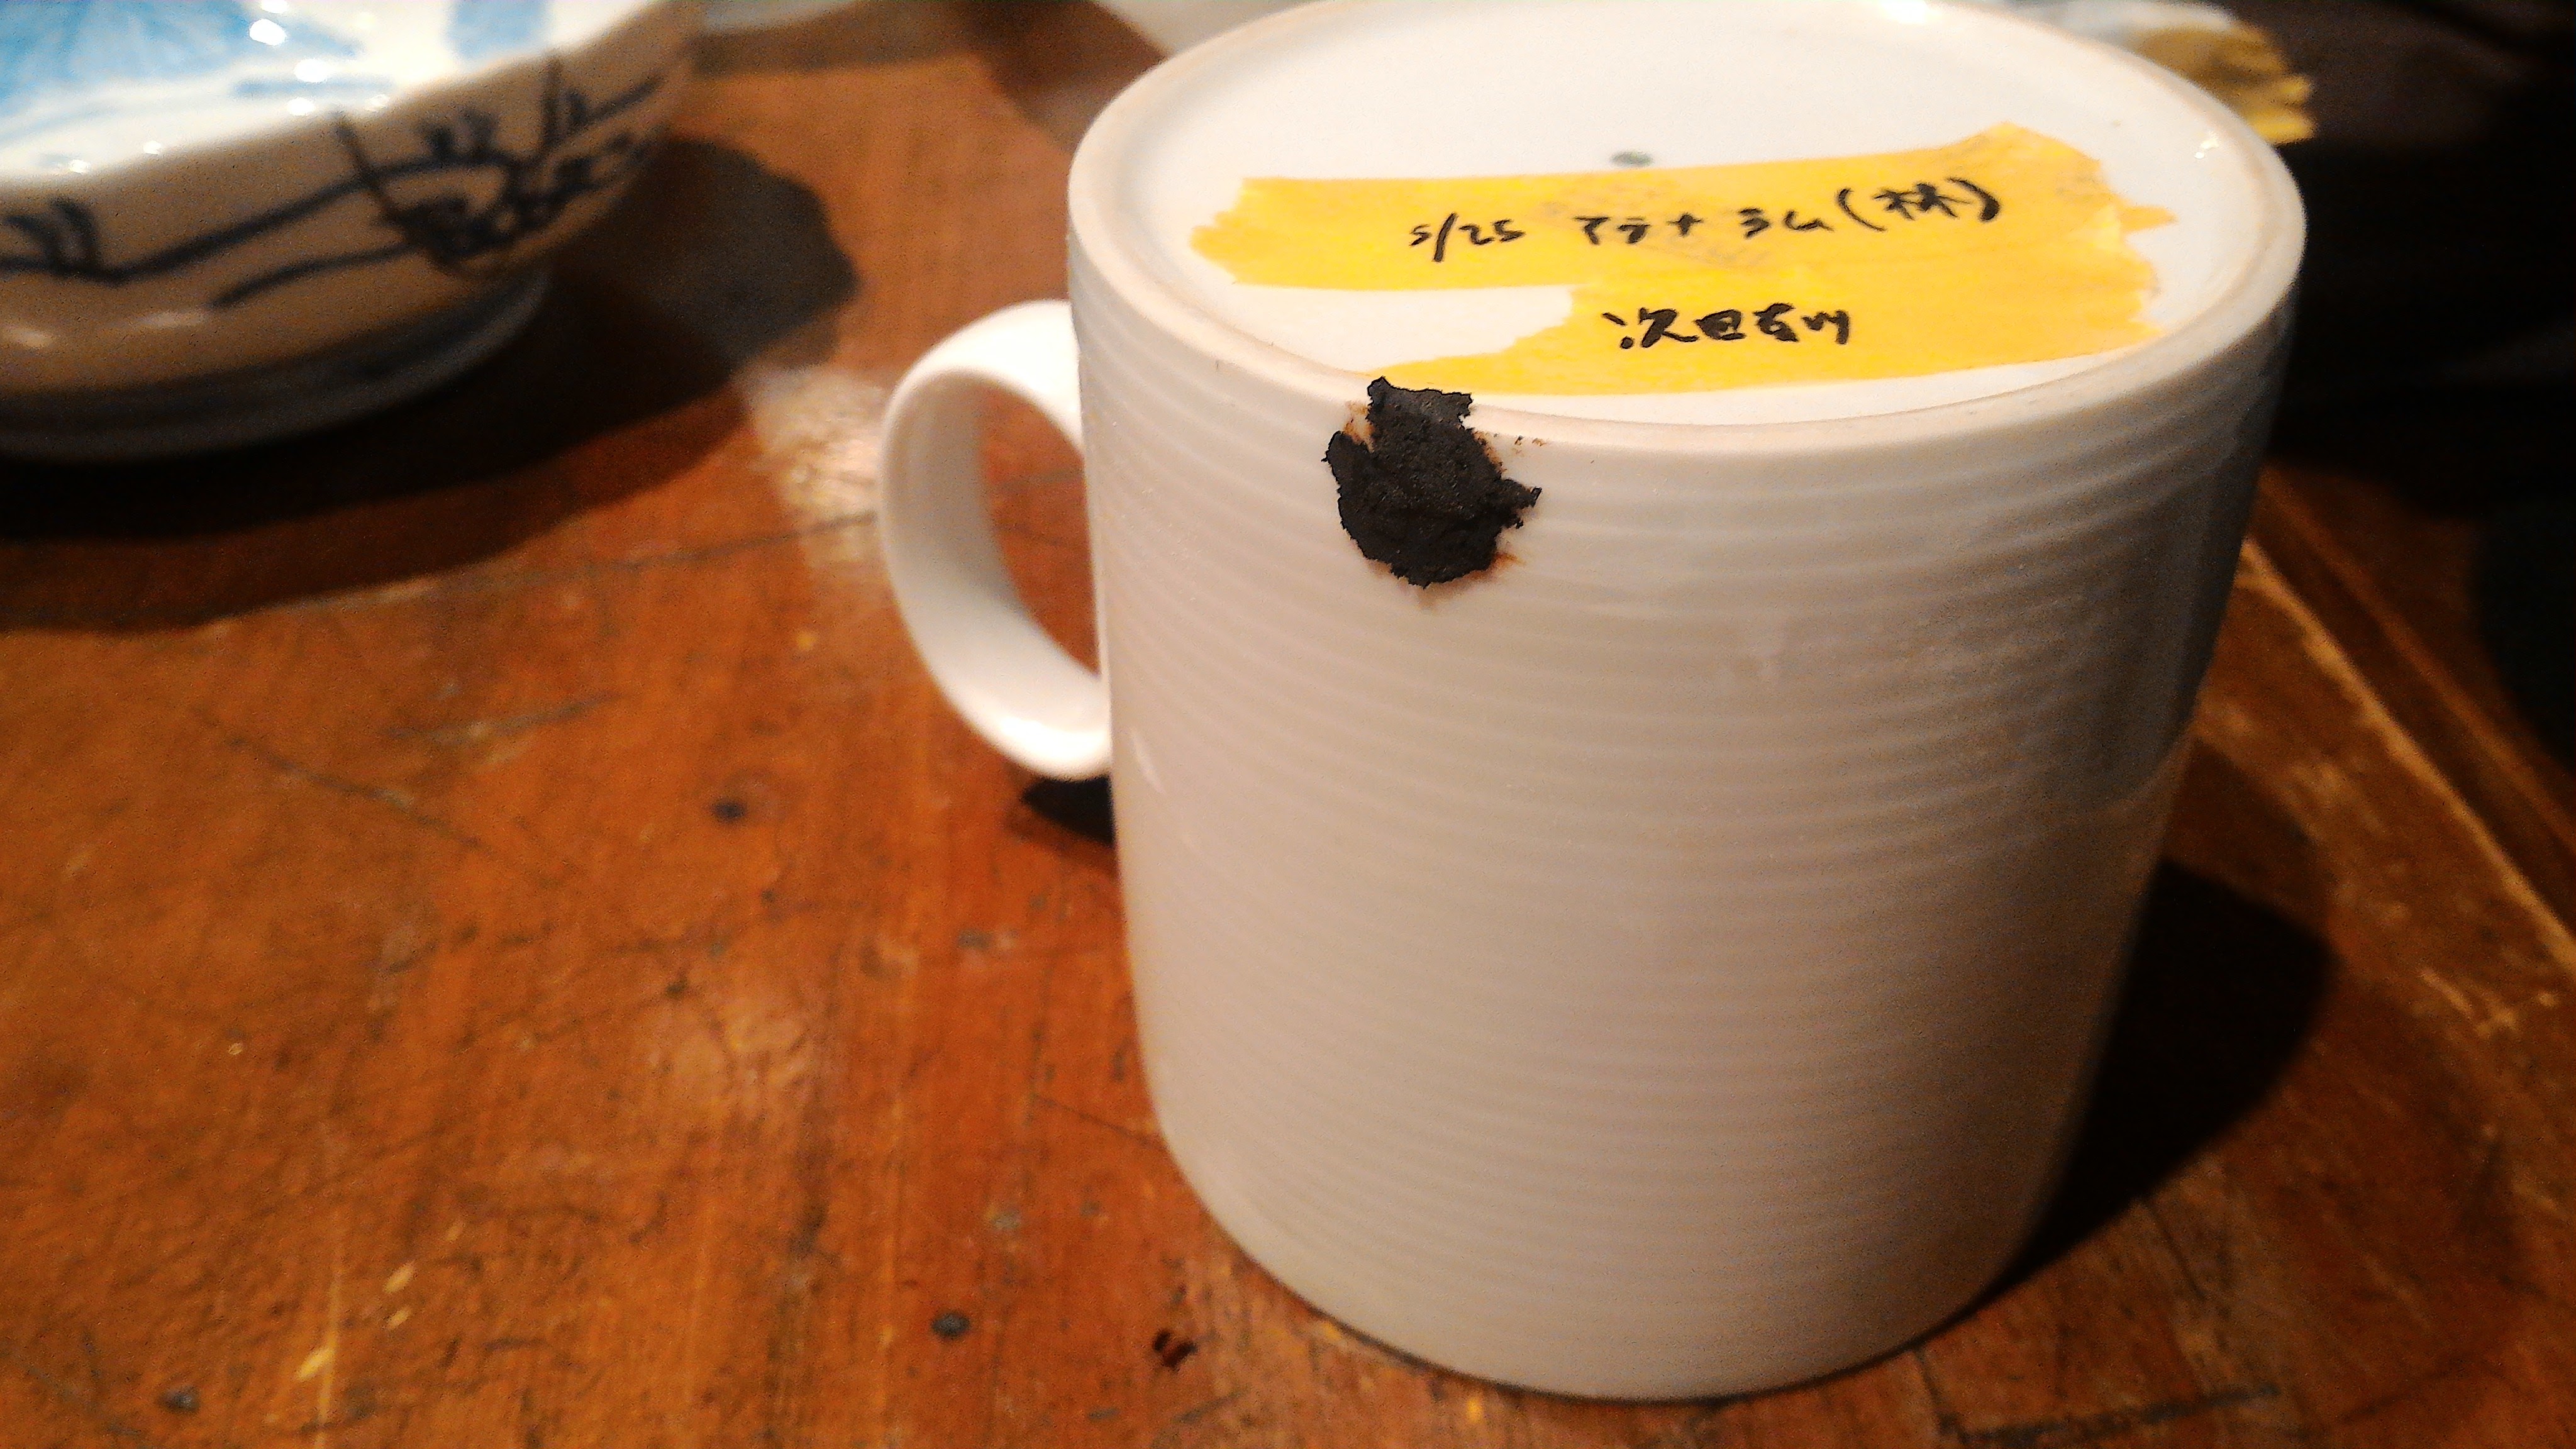
5. Overnight waiting every step of the way
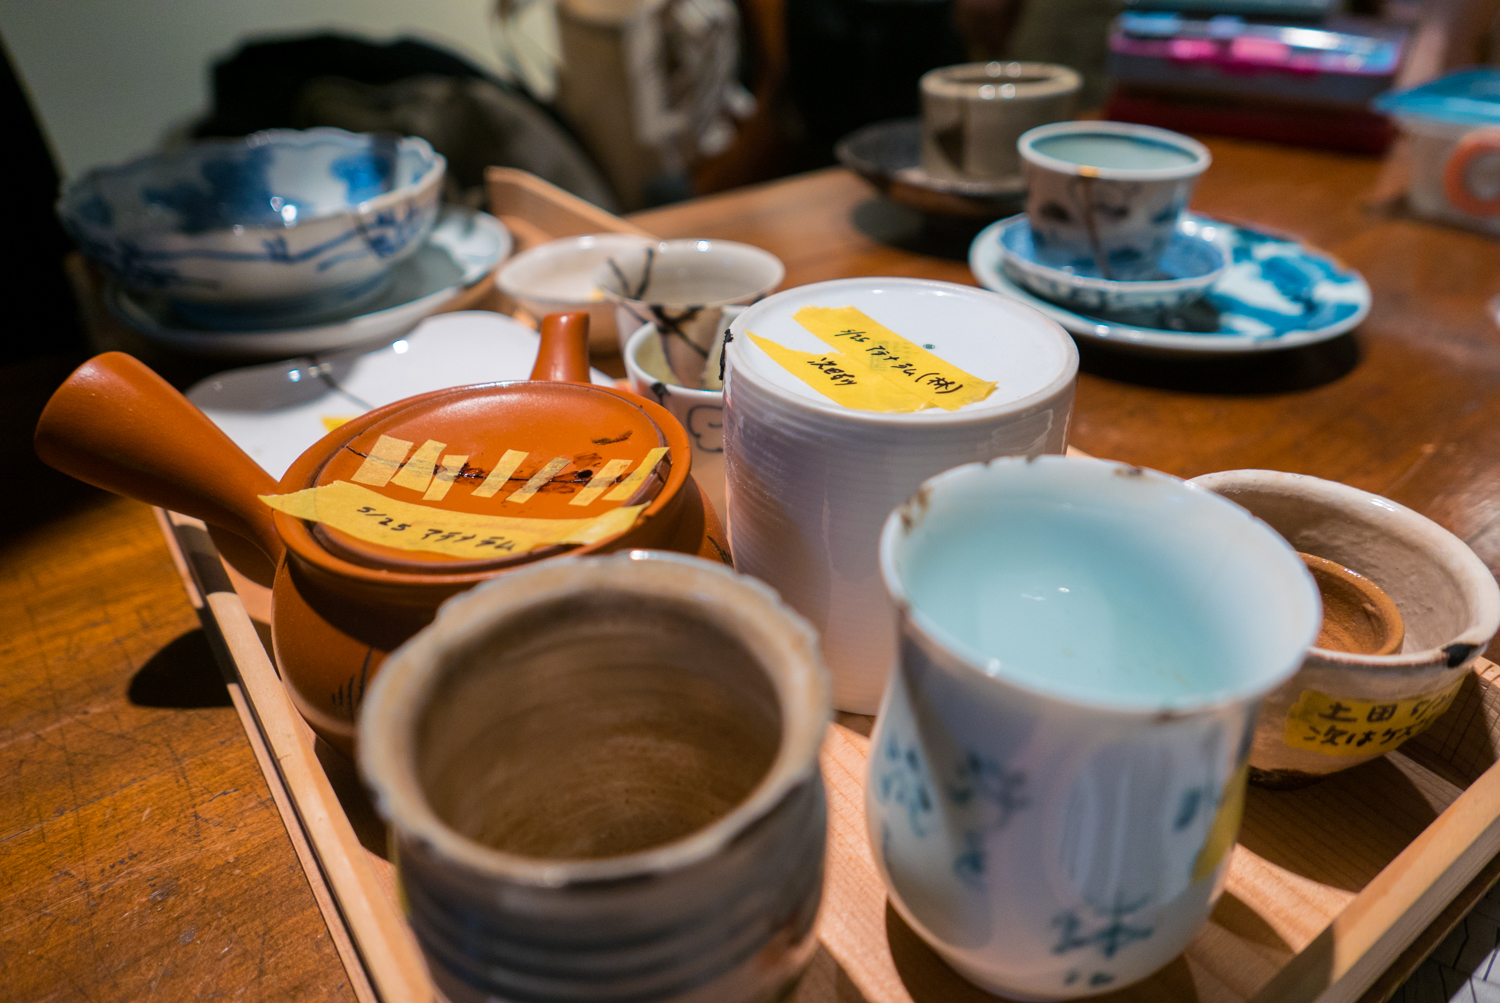 Pieces marked with the next workshop date — Photo by Athena Lam
Applying a layer of glue or the first layer of lacquer to fill a chip is usually the end of the first session. Two hours is plenty of time to go slowly, applying only what is needed and wiping off the rest. The tools used for kintsugi are also quite small as a result, since it is an exacting craft. With the pieces bound and taped, the next thing to do is clean, as lacquer left drying on a brush can render it useless a day later!
6. Clean up after yourself
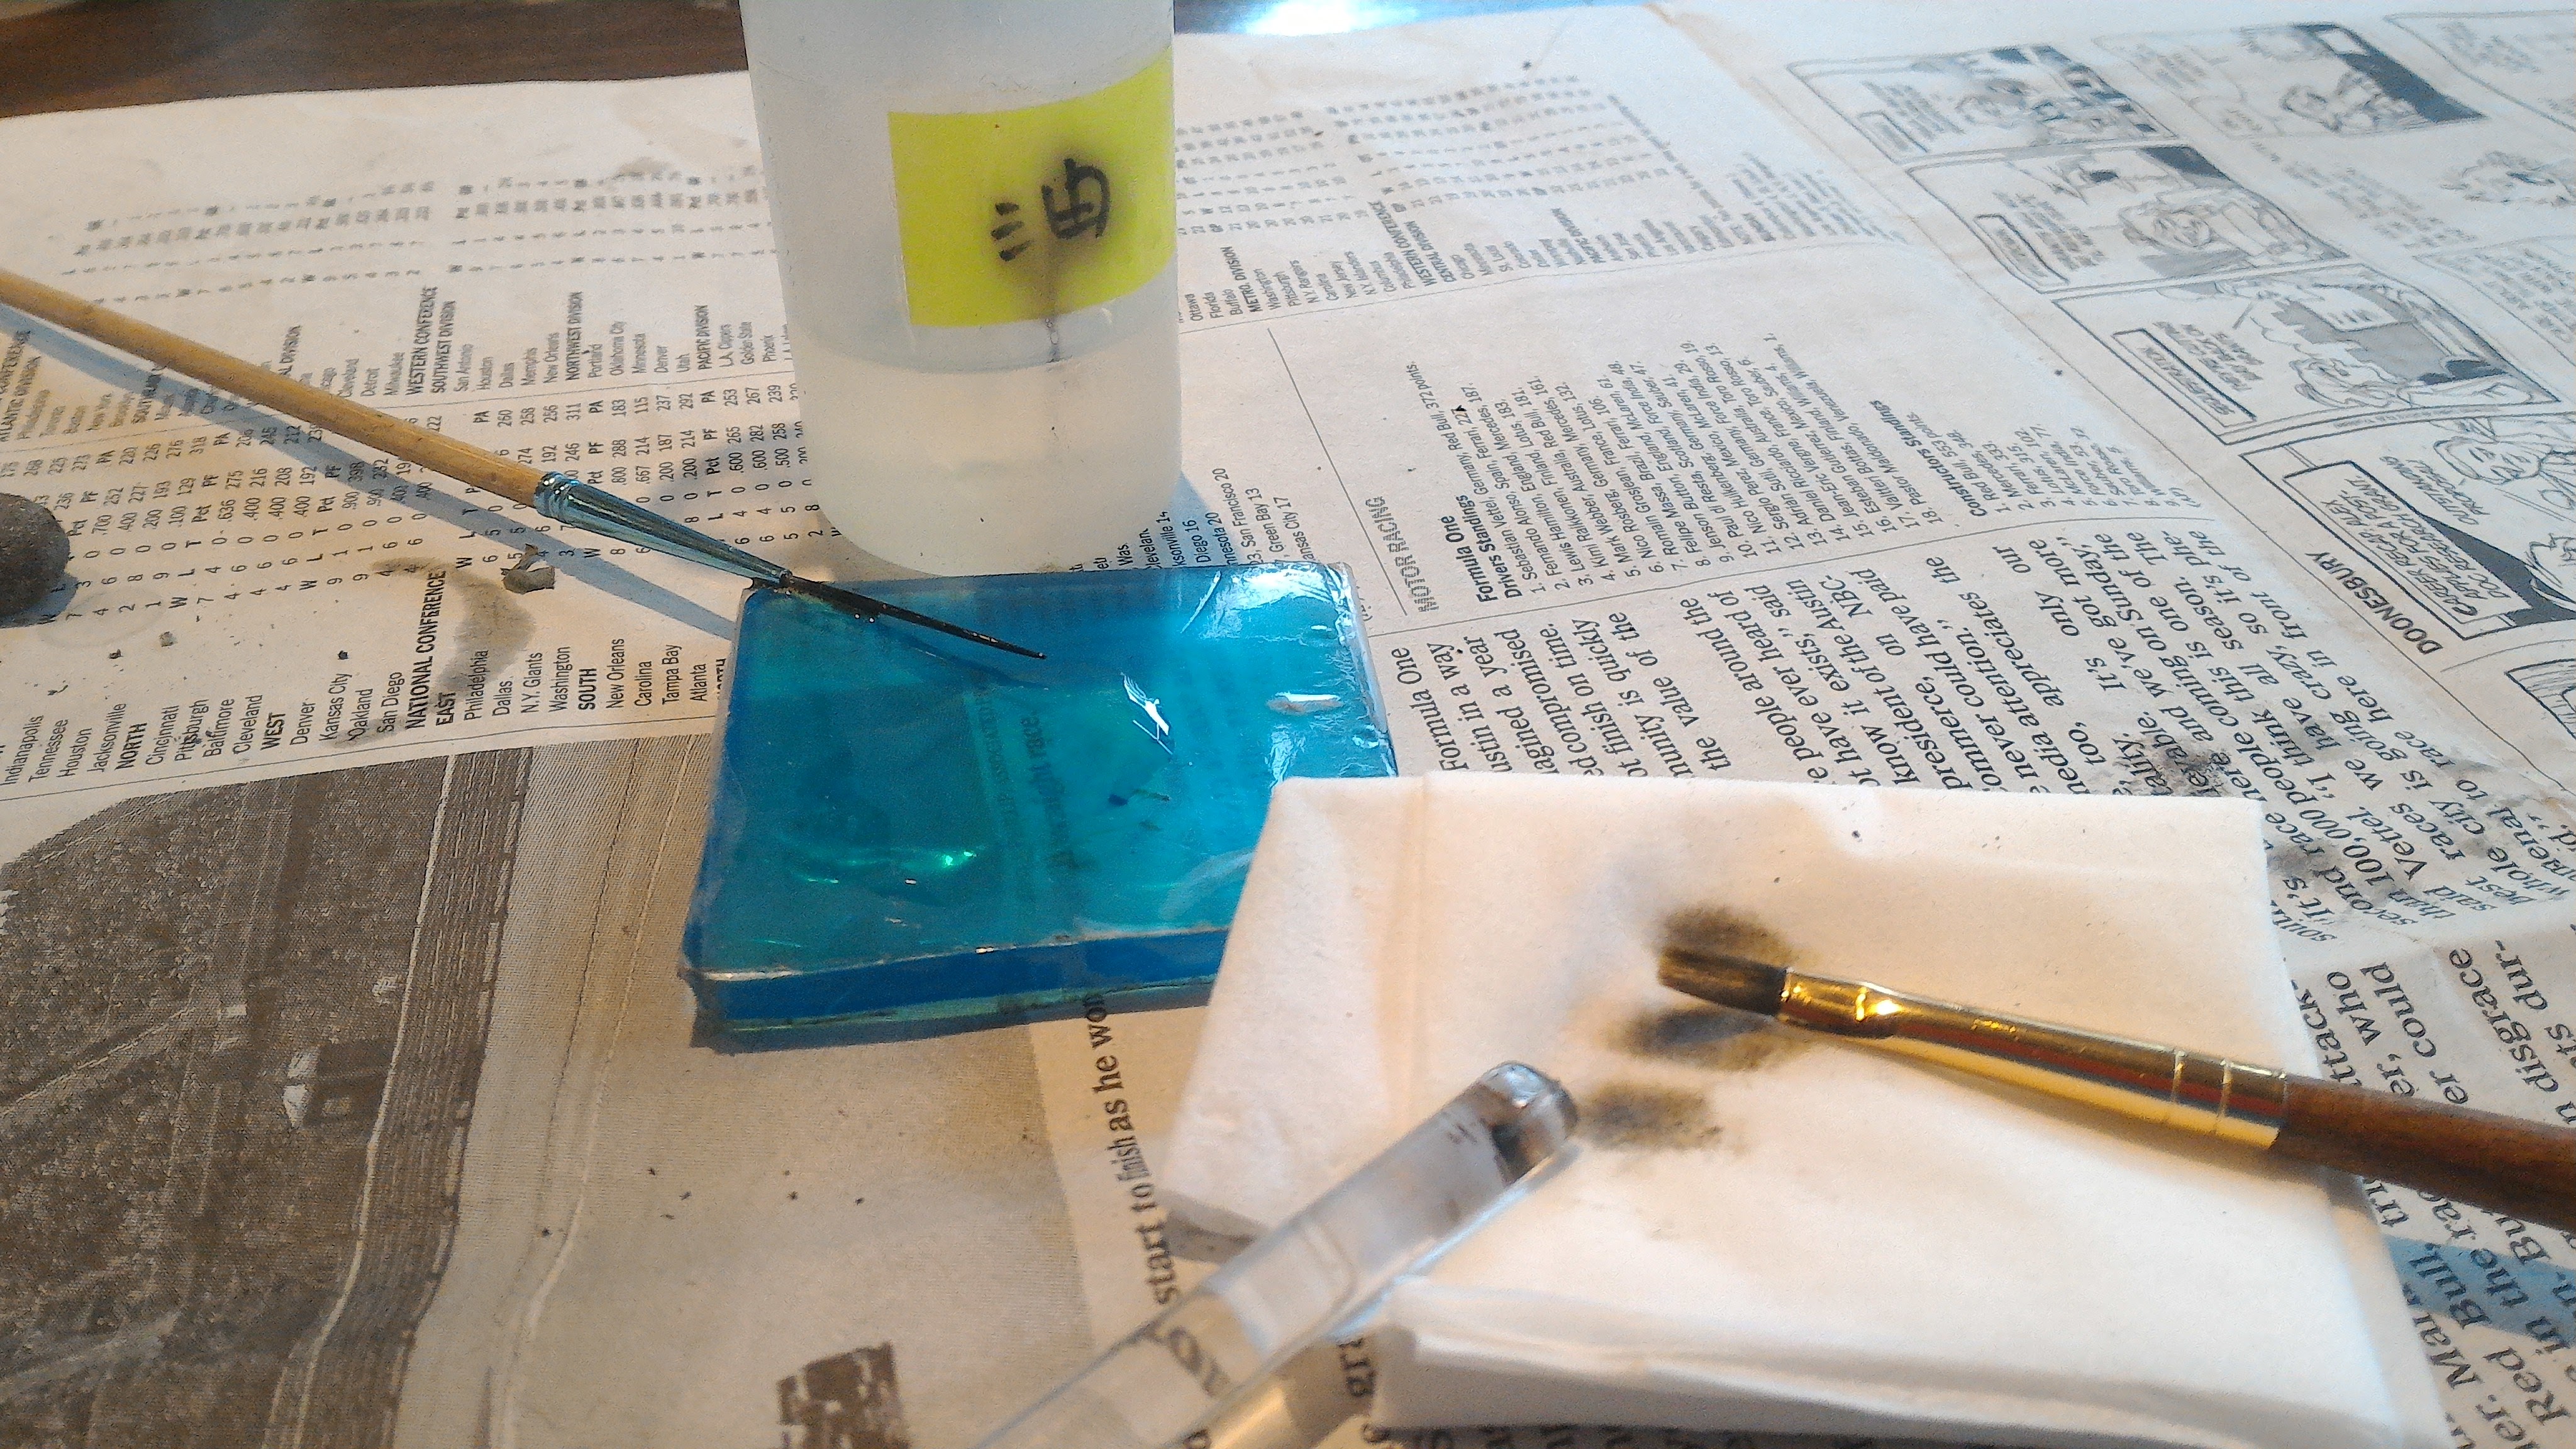 Oil and benzine are the two main cleaning agents — Photo by Athena Lam
Cleaning can take some time as well. Benzine, known as regroin (リグロイン) is applied to a brush with sap, and the lacquer gently pressed out. This is repeated until there is no colour left when pressing the bristles. The other tool, oil, is added to a plastic surface and used for. Benzine and oil are not interchangable. They are used for specific mixes, so make sure you ask your instructor!
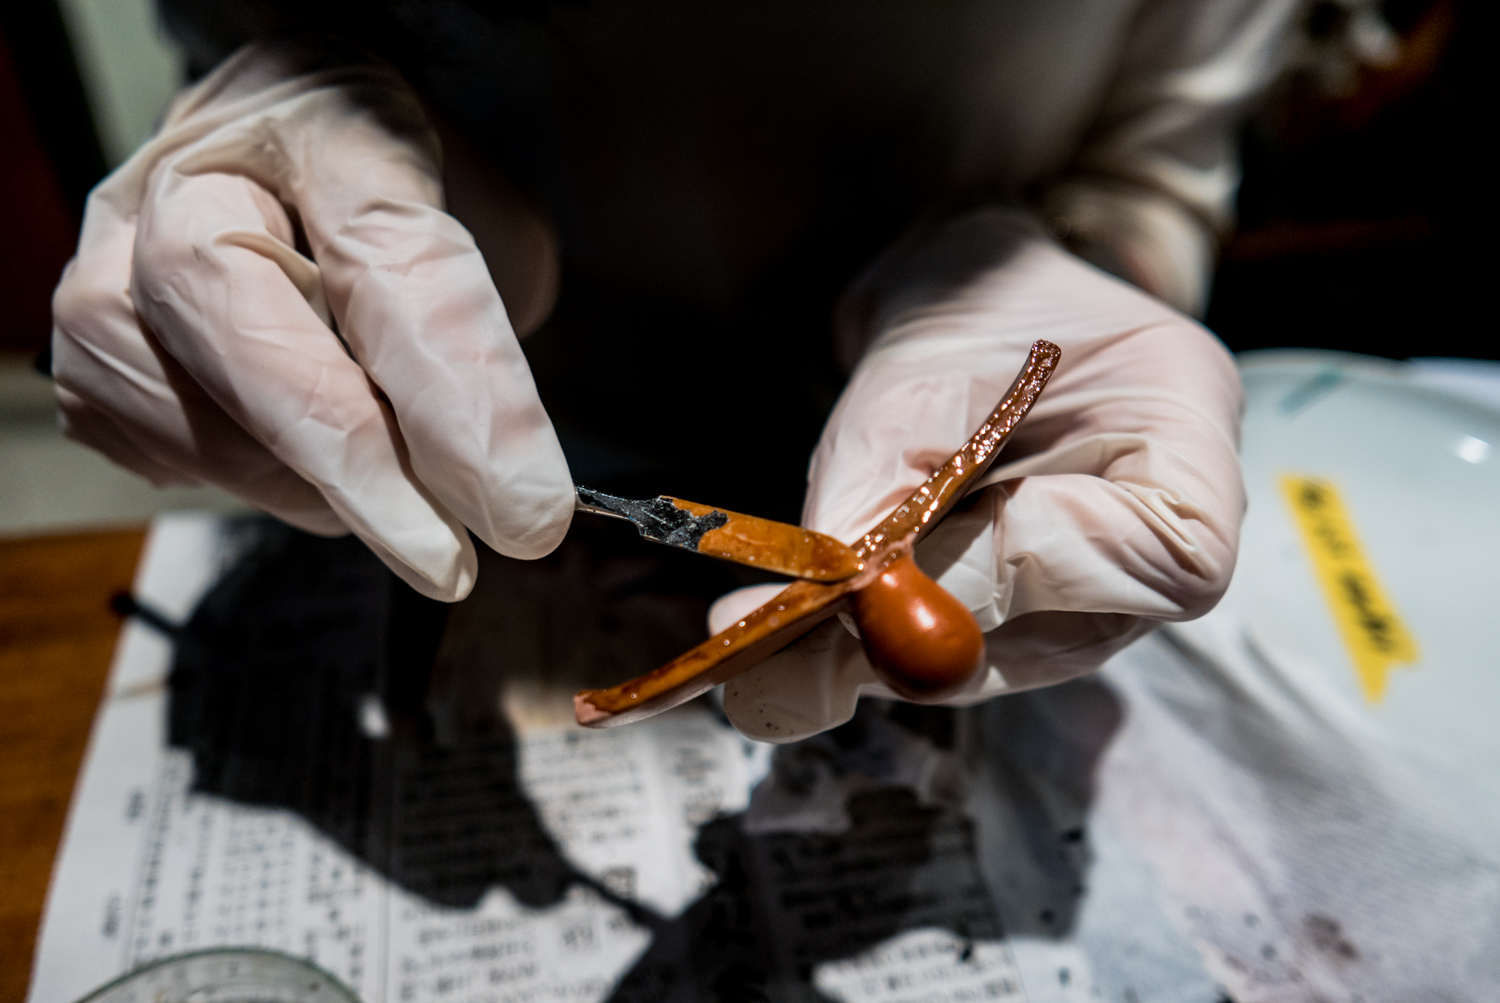
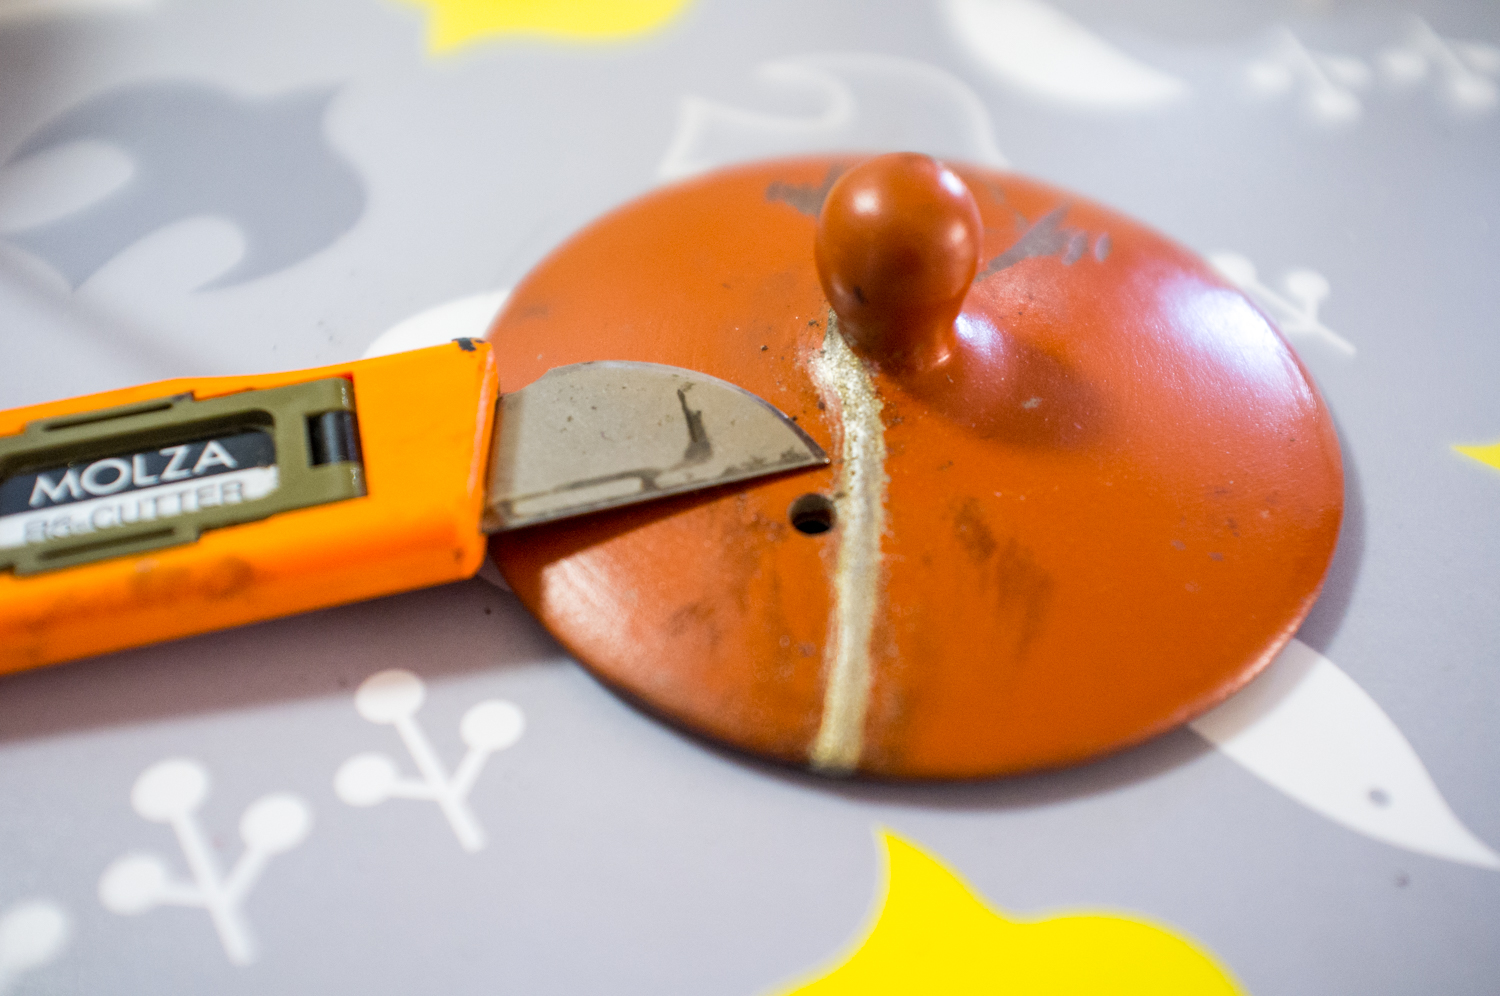
7. Removing excess
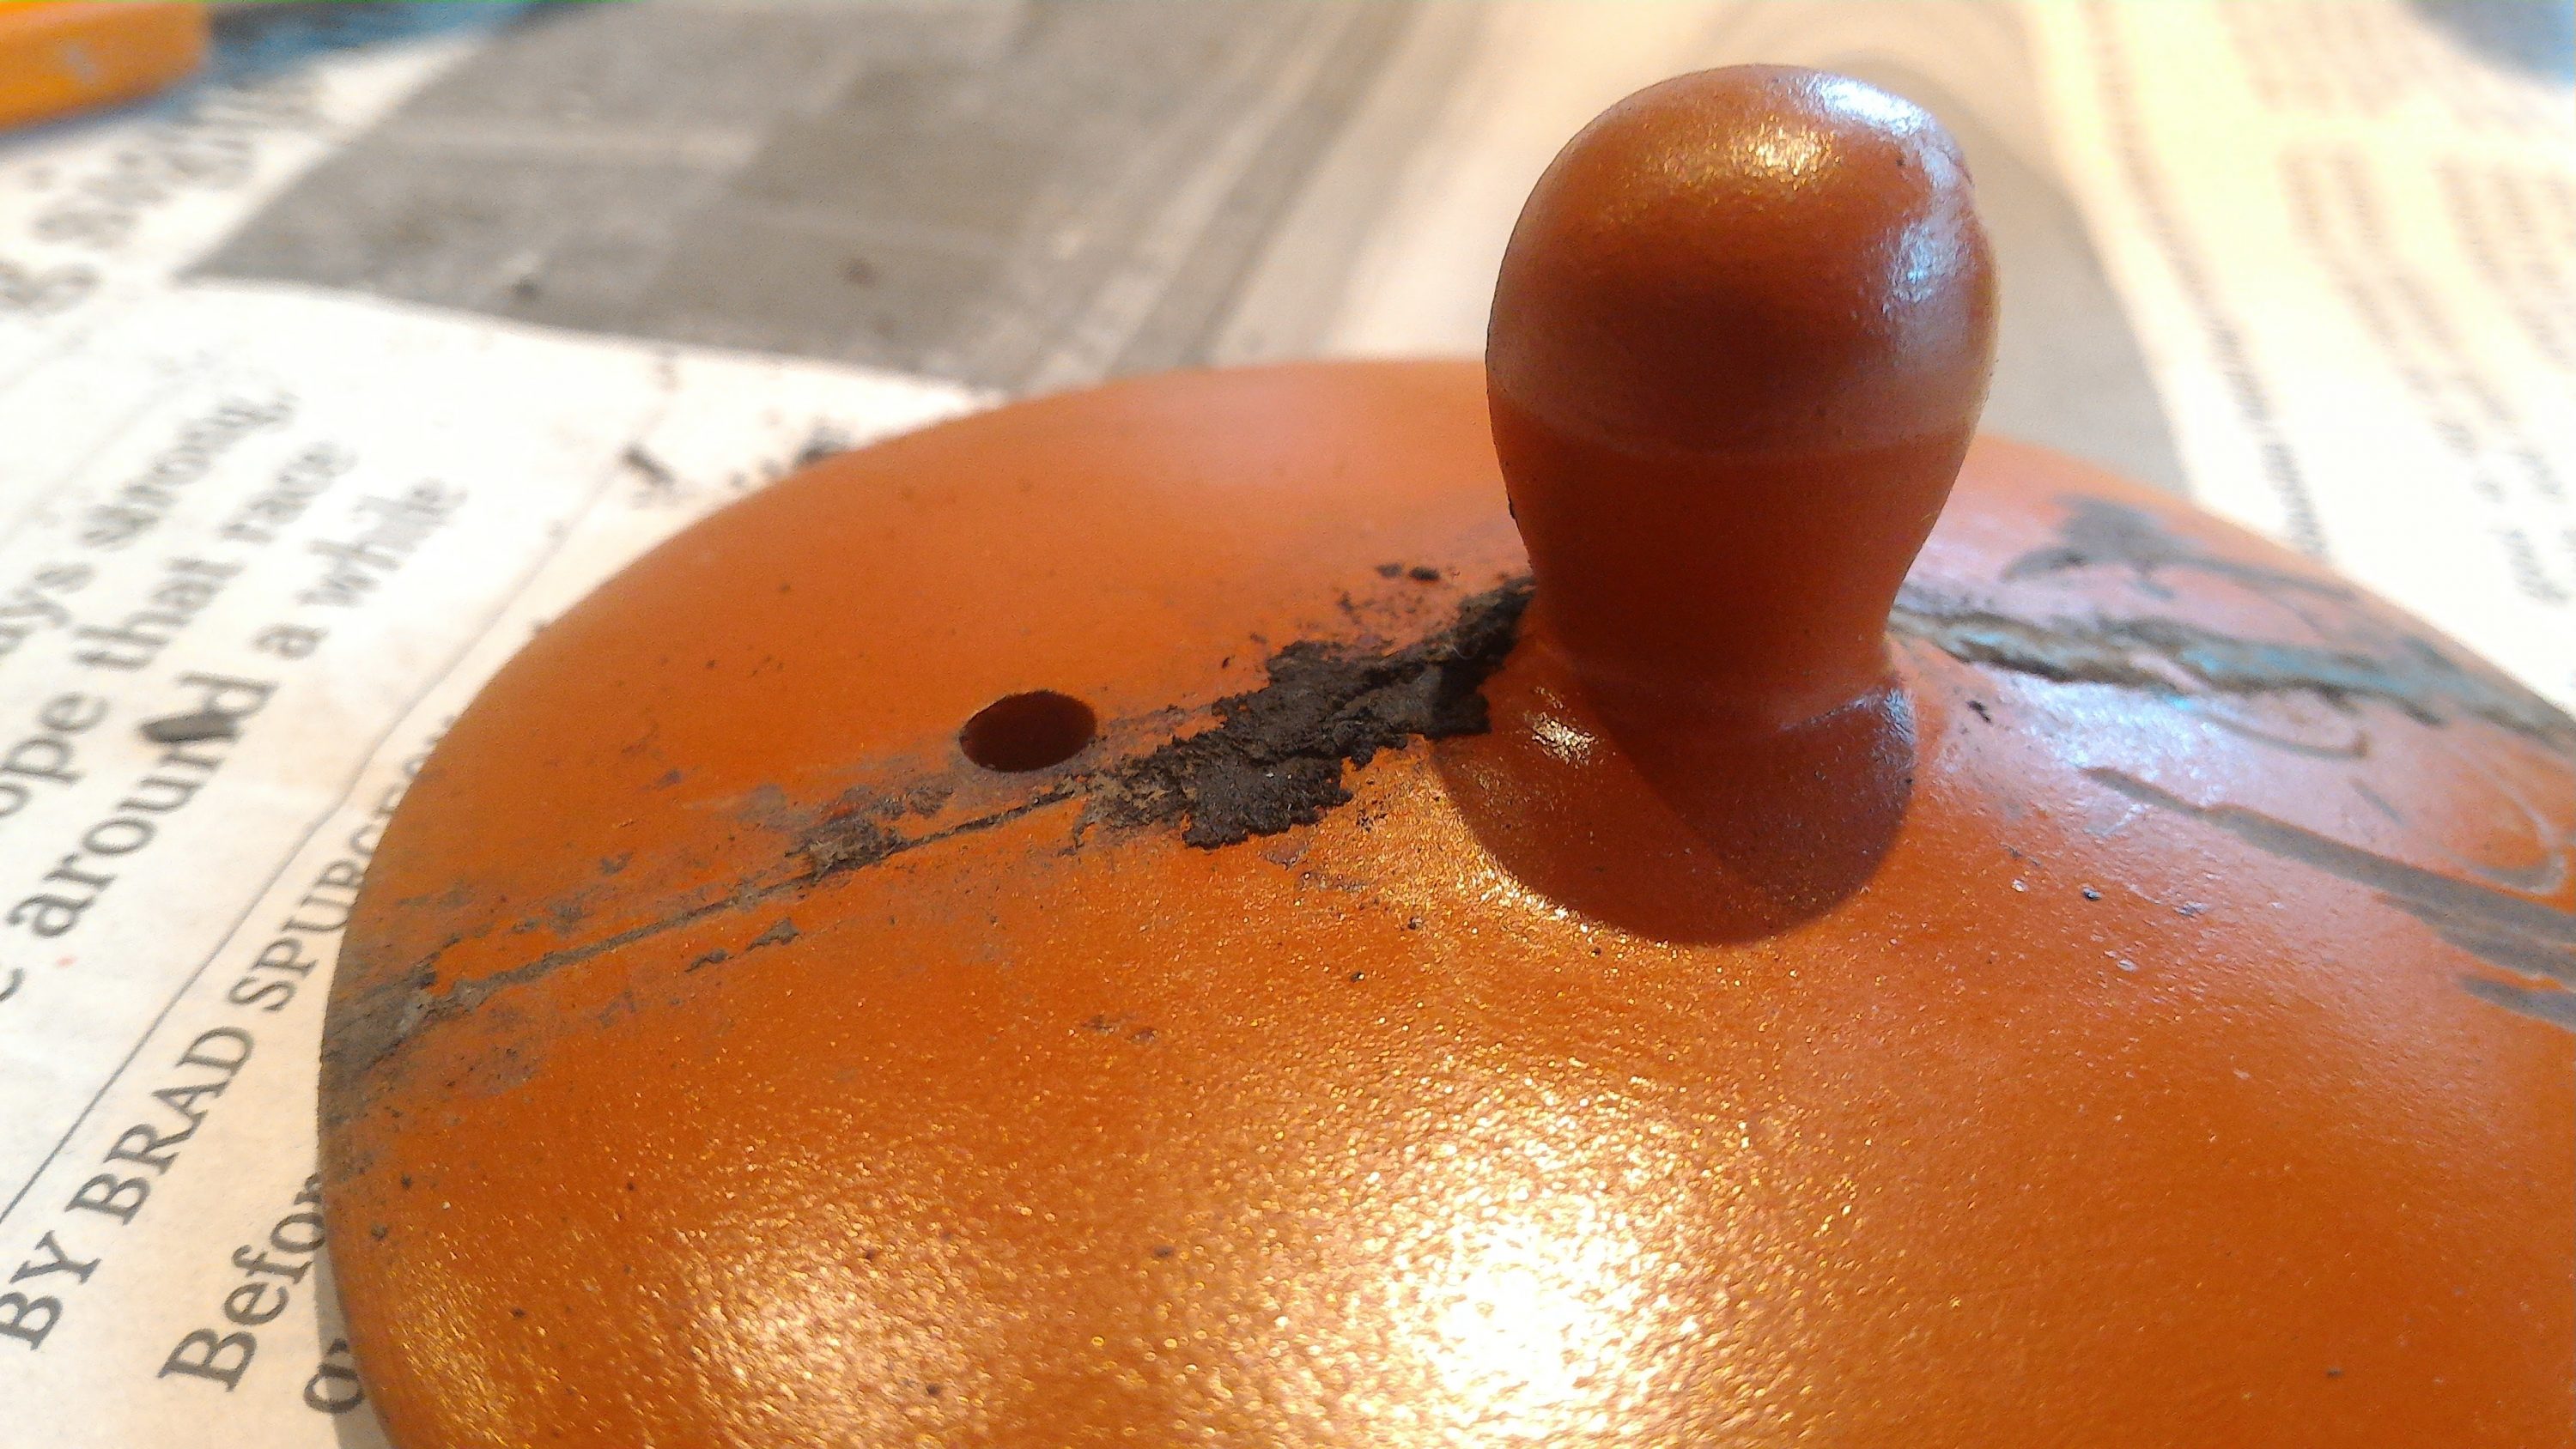 The excess lacquer needs to be scraped off — Photo by Athena Lam
By the second session, you are either adding another layer of lacuqer (if you have a very deep patch) or removing the dried material. Taking a knife, you carefully scrape away until there’s a smooth surface. The material is very flakey, which makes it possible to smooth out into a consistent surface with the original piece.
Again, my tea pot was easier than my cup. I ended up redoing my cup twice because as I was scraping, a bit too much of the lacquer came off, leaving a teeny hole between the edge of my hole and the regular surface of the cup. As a result, I had to take it all out and re-fill the gap. The great news is that kintsugi is quite forgiving. Try, try, try until you get it right. And, the tortoise definitely wins in this race.
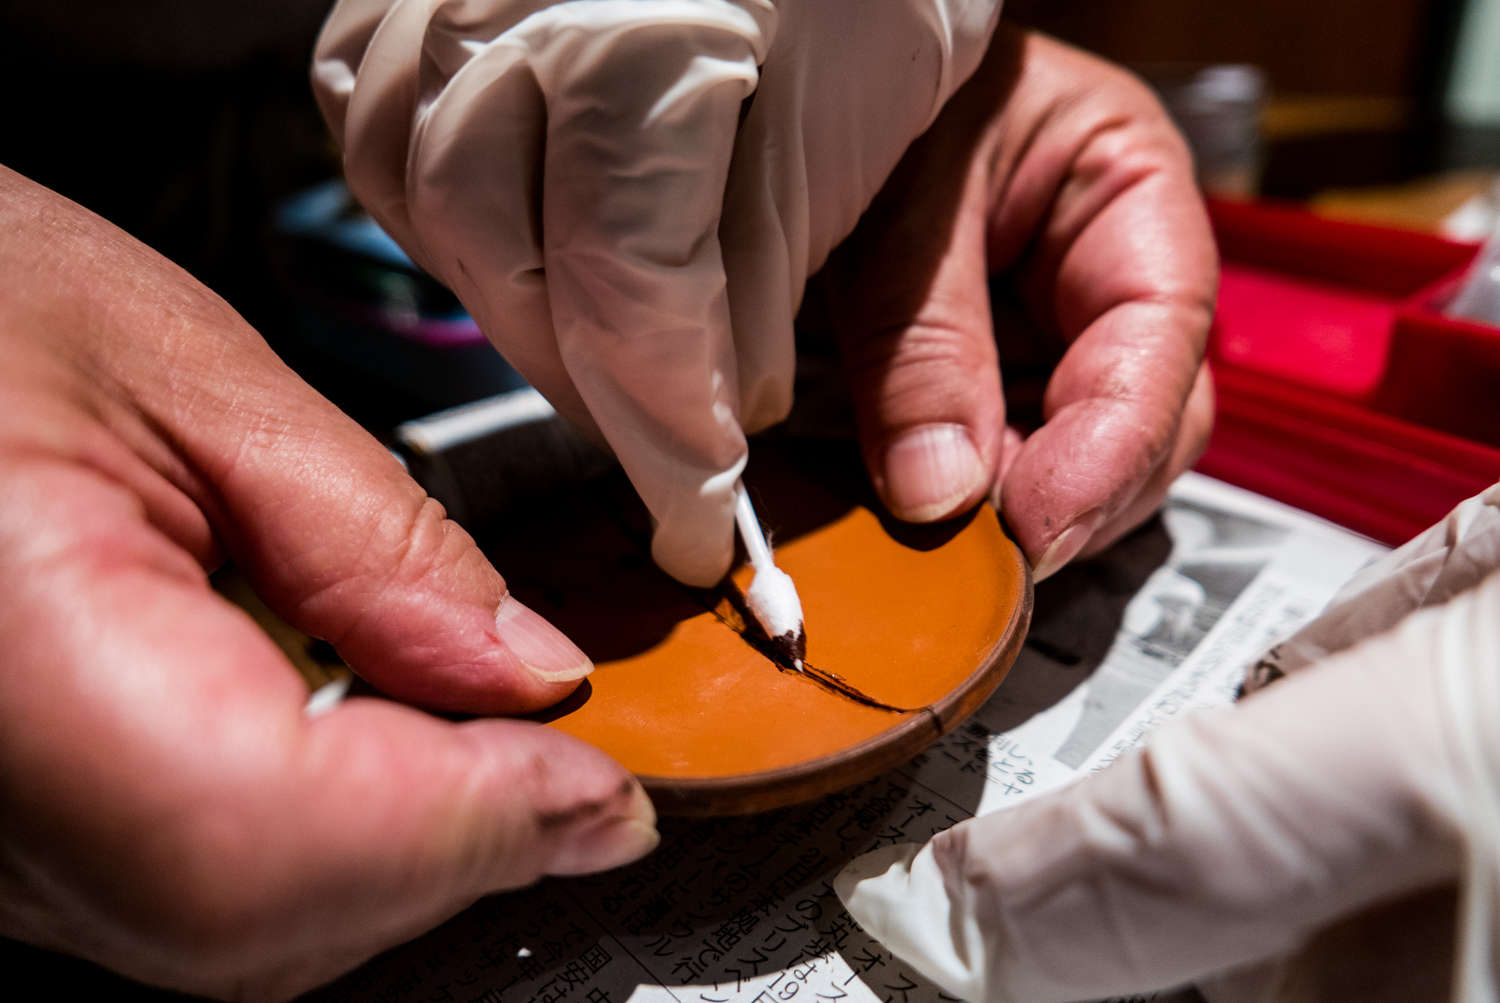
8. Adding gold
 Adding another coat for the gold dust — Photo by Athena Lam
After sanding down the surface into a proper line or patch, another coat of black liquid is used to help the gold flakes stick to the surface. Taking super thin horsehair brushes, you draw a solid black line over the filling. Try a few times to get a confident stroke because a wobbly line is obvious and the mark is too narrow to do any wiping.
 Adding gold dust — Photo by Athena Lam
With the line traced, immediately add the gold dust. A small amount in patches until you cover the entire black line is essential. You cannot go back to redo the process. Also, exposed black patches will stick to the brush you use to wipe off the excess gold dust, which is not ideal. Return the unused gold dust into the container. Also, missing patches of gold will have an irreverseable implication on your final polishing process, so better add too much and gently sweep off after. Then, it’s a wait to the next step.
9. Repeat
 Sanding down the gold surface — Photo by Athena Lam
The gold layer is applied twice for consistency. This means the next workshop is also just a quick application of the glue, then carefully adding the gold, then waiting again. That’s a good opportunity to learn from your peers and see what advice your instructor is giving them for their cases.
10. Final coating and polishing
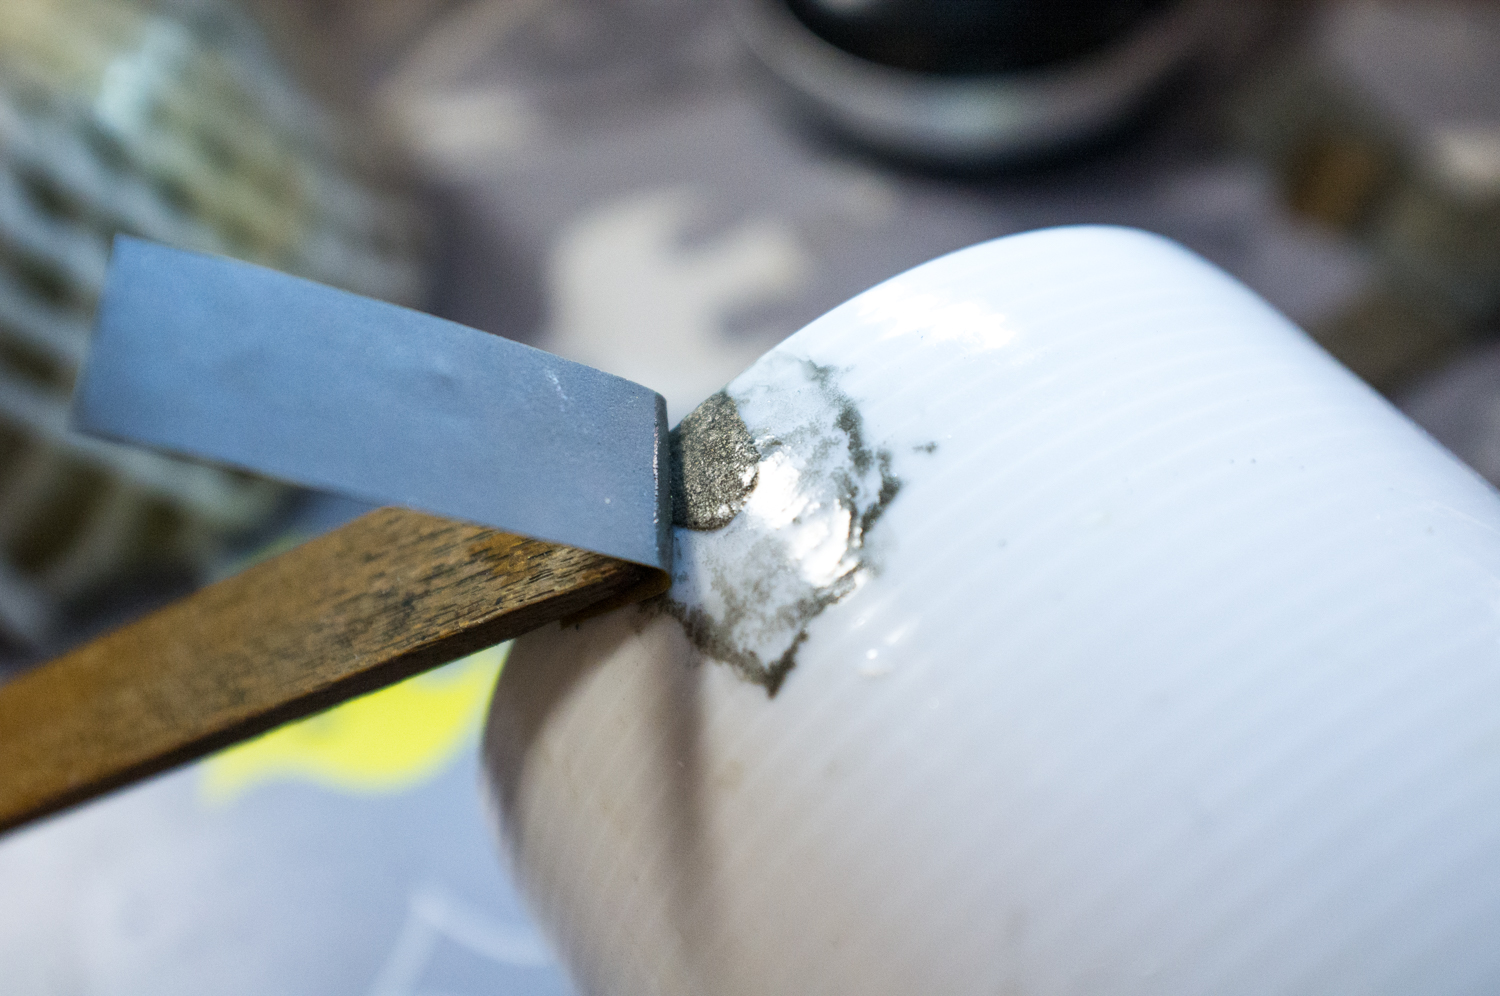 Sanding with three different types of paper — Photo by Athena Lam
The final step is to sand and polish the gold surface. The sanding process includes three different types of sand paper. The first is coarse, the second is finer, and the third one feels almost smooth. The process takes a while, but you will see the dusty specks becoming one smooth piece (if you applied your gold evenly). If the gold was applied unevenly, it becomes obvious, as in the case of my cup with a few black dots. It looks a bit like the metal’s been eaten.
 Polishing the gold layer with a tooth! — Photo by Athena Lam
The final step is to use a tooth to polish the gold. I don’t quite understand what the property of the tooth is, but it helped change the colour of the surface. The absolute final step should be a protective polishing layer. However, I didn’t have the time to do this as I was leaving Tokyo. The entire process in my case took about half a year because I went to a community centre and couldn’t attend for about two months.
 My mostly finished Kintsugi pottery repair pieces lined with gold — Photo by Athena Lam
I didn’t think I would end up spending so long at this community centre. I had no idea how long the process would take, as there’s so little information on it in English. However, I grew to enjoy these workshops and getting to know the other locals who came by. The sensei was also adorable. She would take a look at my work and constantly said dame, dame, dame (that won’t do, that won’t do, oh dear) and then float-fluster around to help me fix it.
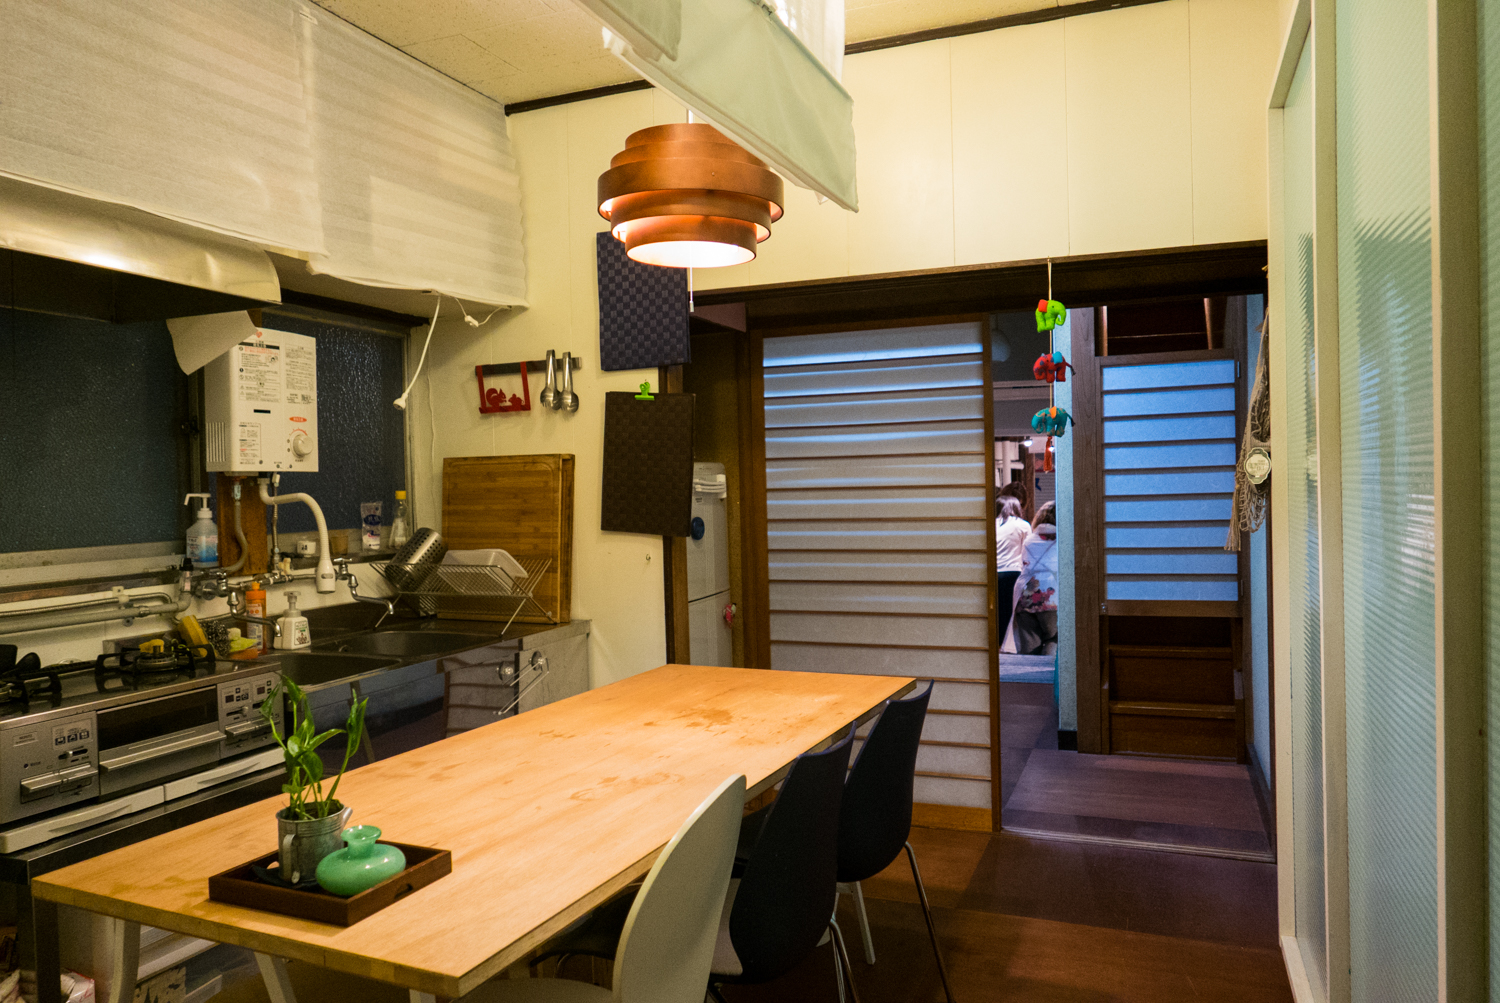
Unaginonedoko is in a typically narrow Tokyo house — Photo by Athena Lam
**For people who are looking to do a workshop while in Tokyo, please do not contact this community centre, as they do not do short-term classes. Here is a 3-day English-speaking workshop on AirBnB or you can search for other classes. Thanks! **
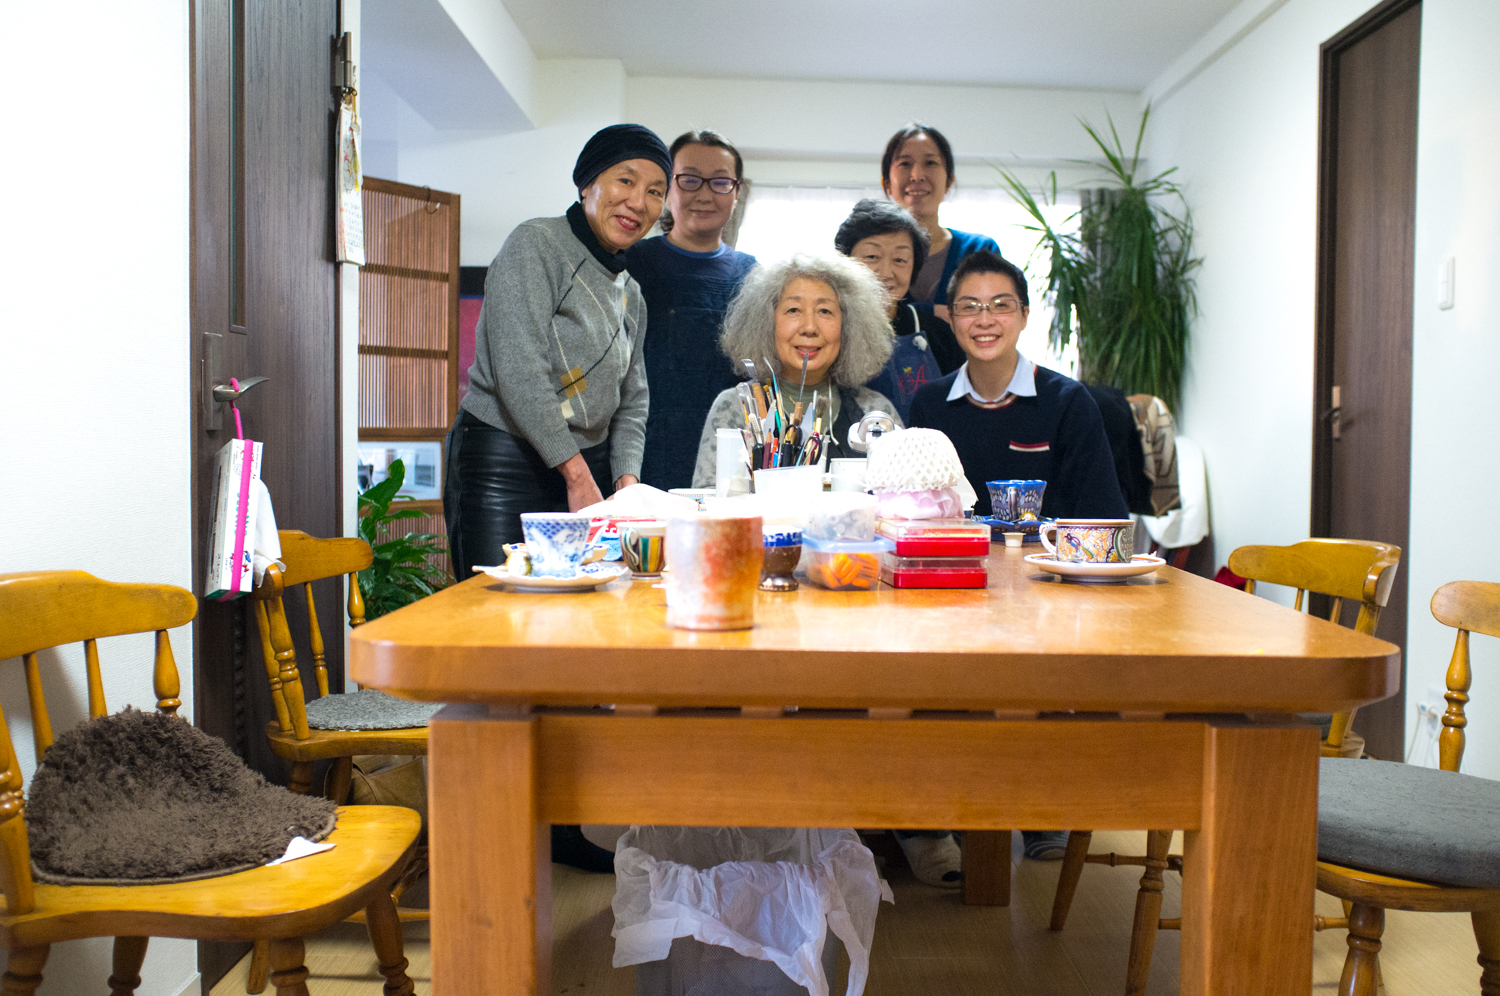 Sensei and the regulars who watched me fumble through my last kintsugi session — Photo by Athena Lam